

Finding a free Blender 3d rigged model to import from Blender to Unity
This Blender to Unity tutorial will show how to import a simple 3d animated model from Blender to Unity while keeping its animations and play the animation by writing few line of javascript code in a Unity script. When you are a beginner game programmer the first thing you want is to see something happening on the screen when you press a key , this Blender to Unity tutorial will help you achieve this with few lines of javascript code.
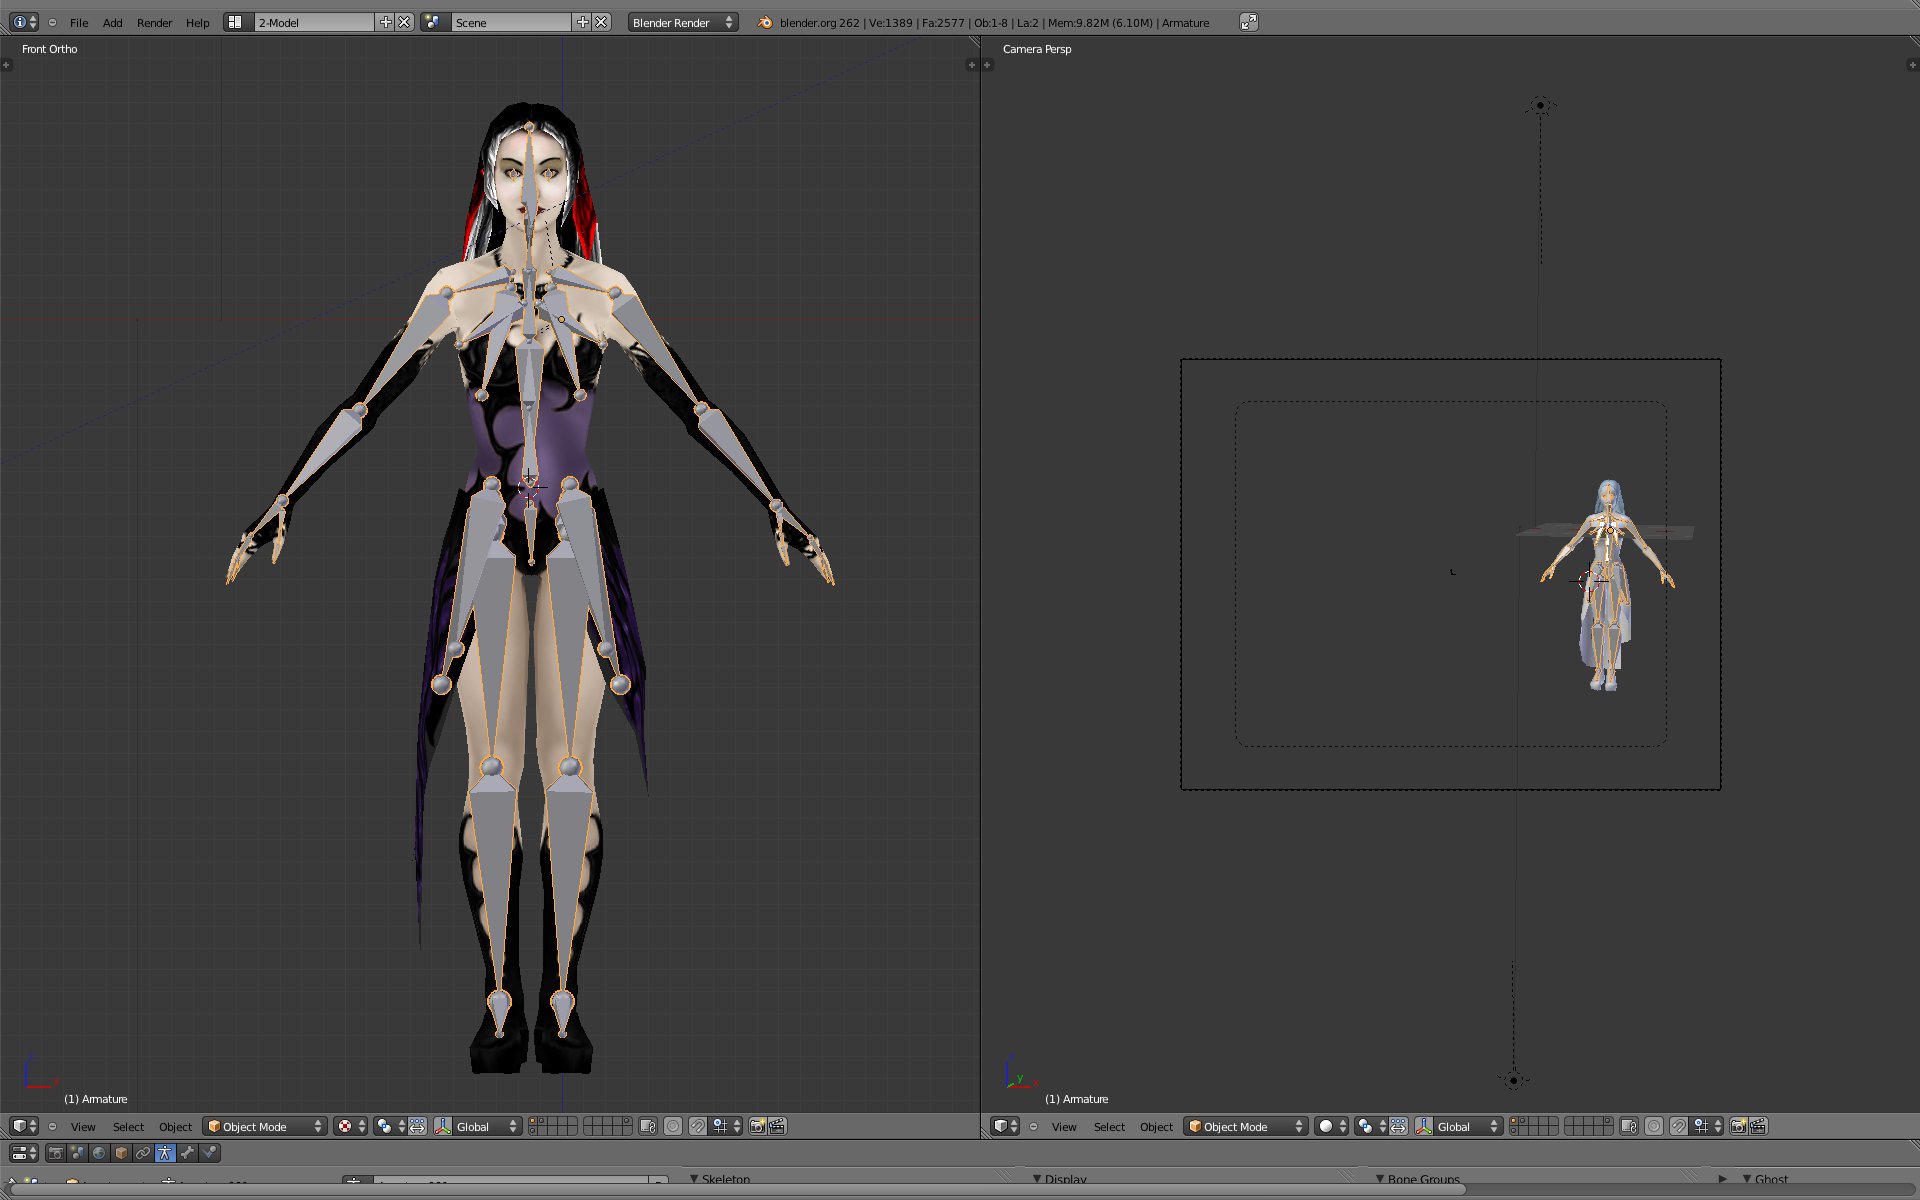
The first step is find a simple 3d blender rigged and animated free model to import in Unity , i found a very nice low poly female fantasy model released under creative commons license that you can DOWNLOAD HERE. I assume you have BLENDER and UNITY installed. Blender version is 2.62 in which the .blend file Blender to Unity import is working fine for our simple task as we will see in a few paragraphs.
Configure Blender to work with animations
Our first step is to open the rigged model in Blender and create two different simple animations. We will make the easiest animation possible , just by rotating a bone to keep things simple, character animation is an art and our goal is to understand how we can relate animations with code. As you open the .blend file with Blender you will see the rigged model in frontal view. We need to tweak the Blender UI panels , just change into Animation panel mode by clicking the Choose Screen Layout button in the top left part of the screen ( marked with a red circle in the inherent screenshot ). We need to add an addition panel to this Blender screen layout , to achieve this it is needed to hover with the mouse onto a panel boundary line , click with the right mouse button and select Split Area into the Area Options dropdown menu that appears. Now you can drag the new panel boundary line where you want and displace it with a left mouse click. Now you should see 4 panels in total , the final needed blender configuration needs the 3D View panel , Dopesheet , F-Curve Editor and Timeline. You should see the 3D View panel and the F-Curve Editor , to get the other two just click the Editor Type button located at the bottom left of every panel , it allows to change the panel’s content , and change one with the Dopesheet and the last with Timeline panel.


Create a simple animation with Blender
Now we are ready to create a simple animation to import from Blender to Unity and use in our scripts. Go into the 3D View panel and press your numpad 1 key , you will get the model’s frontal view. Change from Object Mode to Pose Mode ( where we will animate our character ) by clicking the Mode selector as you can see in the following picture ( It’s the one with a little yellowish cube in the 3D View panel menu bar ). Once in Pose Mode press the A key on your keyboard to select ( and deselect if you press A twice ) all the model’s bones. Now it is needed to store the current pose of our model , from where we can start our animation , by record the relevant data of the status ( locations , rotations , scaling ) of our selected bones. This is achieved by inserting a Keyframe by pressing the I key while in the 3D View panel in Pose Mode with all the bones selected. When pressing the I key you should select Rotation in the dropdown Insert Keyframe menu , because we will only rotate bones. A Keyframe use it to give a fixed pose for that time instant , so that Blender will move the bones by interpolation between 2 different keyframes.
You should notice that after adding the keyframe the list of the involved bones appeared in the Dopesheet and in the F-Curve Editor. Now at frame 1 we have this standing pose stored , what if we want to create an animation where the character raises his arm ? Now in the Timeline panel change the current frame by entering 50 in the current frame box , just after the Start-End rendering range boxes. While in Pose Mode select with the right mouse button only the upper arm bone of the left arm , then press R to rotate it and with the rotation active press the Y key to constrain the rotation on that axis , rotate the arm with mouse movement where you want and press the left mouse button to confirm the new bone position. Now with only the upper left arm selected add a rotation Keyframe for it , by pressing I and selecting rotation , if you press the play button into the Timeline panel you should see your character animating for the first 50 frames.
Now we want the character returning to the standing position from which we started animating , we will use the Dopesheet panel. In the Timeline panel insert 100 in the current frame box. In the Dopesheet panel select with the right mouse button the first square right to the Armature name ( marked in red in the fourth picture ) , doing that will select all the rotations of our first keyframe for all the bones ( the whole armature ). Press now SHIFT+D to duplicate them and move them to the right until the green line and click the left mouse button to put them at frame 100 or just insert 99 with the keyboard and press enter ( so that you move them 99 frames further from frame 1 , into frame 100 ). Press play and see how this lovely lady raise his left arm and goes back to the standing pose.


Import the animation from Blender to Unity
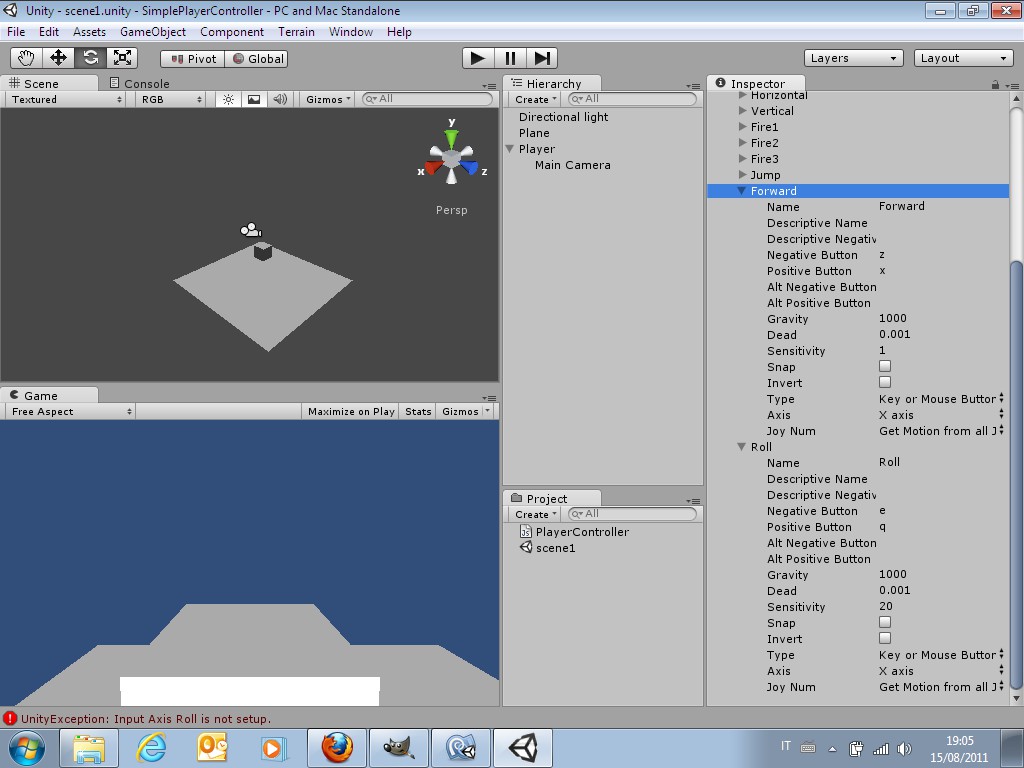
Save the file in the .blend format and be ready to import from Blender to Unity with animations. To go from Blender to Unity i assume you have an Unity project with a plane , a light and a Main Camera. In Unity open your project and click with the right mouse button into the project panel , select Import New Asset in the dropdown menu. Select our character .blend file and the programs will automatically import the model with animations from Blender to Unity. To complete the task we need to point the importer to the right animations by giving it the frames ranges for every different animation. In fact , when going from Blender to Unity the Unity importer takes the full Blender timeline and you can split it in variuos animations and name them accordingly , and use them in Unity via scripting with their names.
With the model imported from Blender to Unity , click on the plus sign ( + ) in the split animations tab of the inspector with the model selected. Doing that will add a new line where you can insert the animation name , the starting and ending frame numbers of the Blender timeline , and the way you want to play it ( Once, looping…). The default animation name is idle , we leave this as default and insert 100 for the End frame value , Loop WrapMode and tick Loop , then click Apply. If all goes well we imported succesfully our model from Blender to Unity and we can drop it into Unity scene from the project panel. Consider scaling it down because it will appear very big in Unity , and press the Unity play button to see our character raise his arm eternally !


Code example to play the animation from Blender to Unity
You can call the animation and play it via scripting in Unity , here is a quick code example.
[javascript]
#pragma strict
function Start () {
}
function Update () {
// Identify GameObject By name and change its animation with a key press.
if (Input.GetKey (“up”)){
var go = GameObject.Find(“GameobjectName”);
print (“up arrow key is held down”);
go.animation.Play(“AnimationName”, PlayMode.StopAll);
}
}
[/javascript]
Related posts:
 Tutorial How to move the Player with keyboard inputs in Unity3d keyboard input javascript
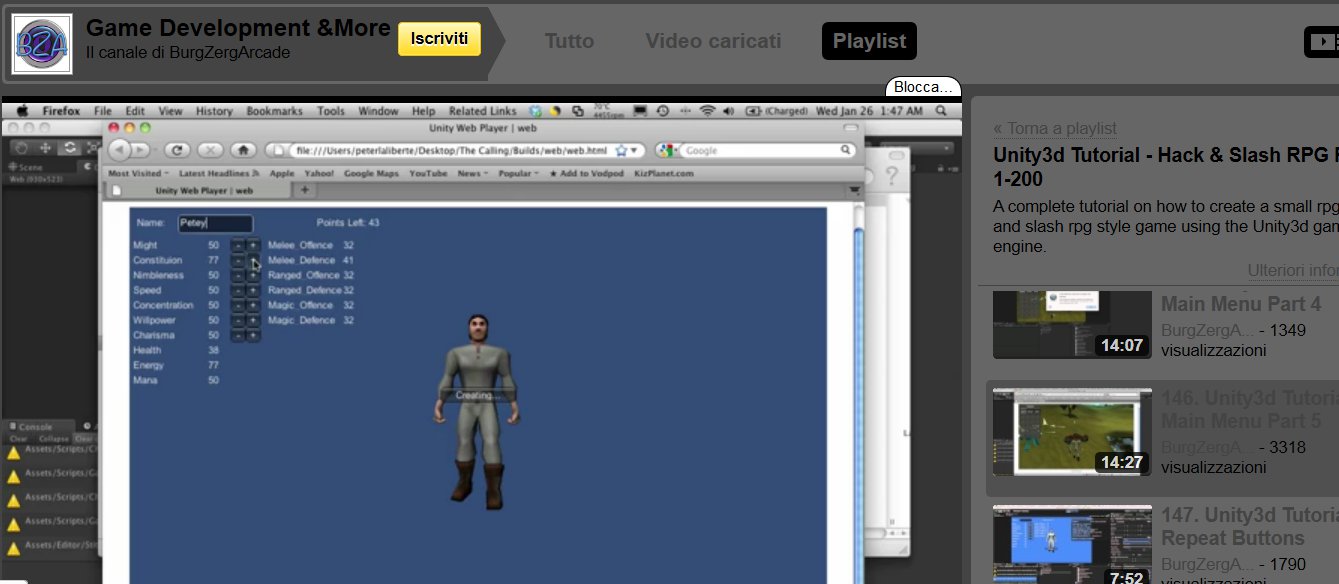 Beginner Unity video tutorial , create your rpg hack and slash with BurgZergArcade video howto
 Easiest Unity video tutorials for beginners game programmers
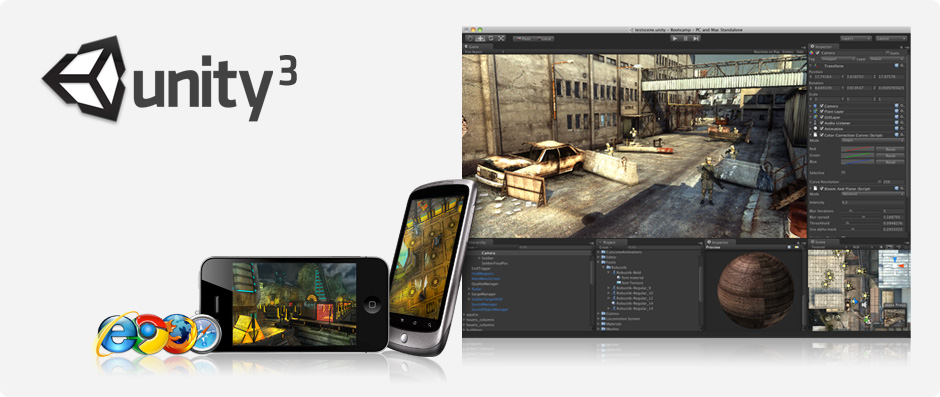 The best and easiest tool to make a video game : UNITY3D Editor
1 thought on “Import animated model from Blender to Unity and play the animation with scripting”