Contents - Quick Links
Hi guys in this multiplayer tutorial for Unity i will show you how to make your game playable by many users using ulink authoritative server. Our goal is to have multiple players connecting to a Unity authoritative server and move in the same level. We all know the Unity game engine and its features, the networking part of Unity it’s a bit lacking but there are some third party plugins that can expand the engine functionalities. uLink network Library is a Unity plugin focusing on improving and expanding Unity’s network api’s to allow better networked games.
In this Unity multiplayer tutorial i will use Unity version 4.2.2 and uLink 1.5.5 codename Lina.
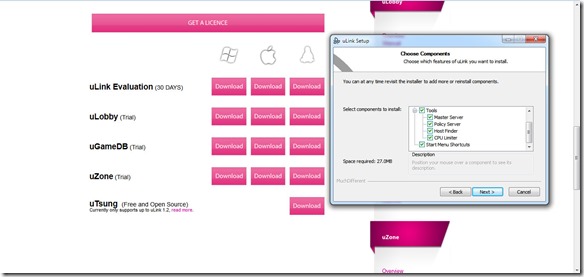
You need to download uLink Evaluation installer from the following link :
You can use uLink for free in the 30 days, after that it will only display a warning in the Unity console so it is safe if you want to tinker with it, but if your game ships you have to buy the indie license that costs around 600 euros – 900 $ (damn taxes!).
Installing uLink network library for Unity
Next step in this uLink authoritative server tutorial is to install the uLink plugin, double click on the installer you downloaded from the previous link and install uLink in the path where Unity editor is.
After finishing the installation, open Unity editor and start a new empty project. If uLink does not get loaded by default (you can tell by searching for a uLink entry in the Unity top menu next to the Component entry) just go trough the top menu and click on :
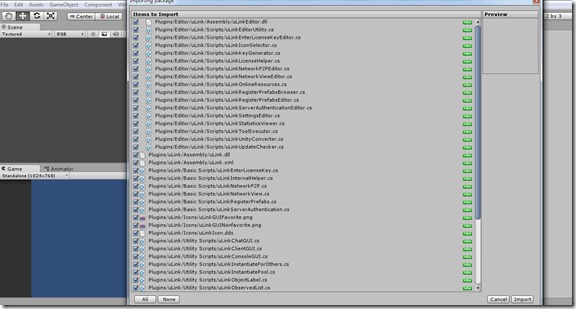
- Assets –> Import Package –> Custom package and navigate into the Unity folder, go into the Standard Packages folder and import the ulink.unitypackage file.

Now your Unity installation should be ready to use Ulink, a Plugins directory with the uLink scripts should have appeared in the Project panel.
How to set up an authoritative server with uLink
We would like to create an authoritative server with the help of uLink unity plugin, but why we need this kind of server setting? An authoritative server is a server that receives clients inputs and makes all the calculations on his side and then communicates the results to the clients. Clients cannot change their posistion or state without the authoritative server acknowledgement and validation, this way the authoritative server is less prone to cheating and more secure in a multiplayer based game.
uLink supports out of the box authoritative server configuration, to enable this setting follow this procedure :
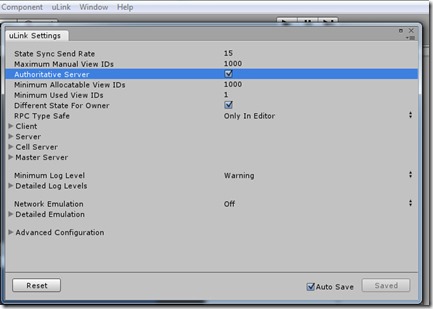
- Click on the uLink entry in the Unity top menu and in the dropdown menu select Edit Settings
- In the settings box tick the Authoritative Server checkbox

Now uLink is in authoritative server mode, uLink refuses to execute RPCs or sync states between the clients. Clients can only call RPCs on the server and only the server can sync object states to the clients.


Nice article!
Some details on “Handover” would be cool.
I have tried tow ork on this. Somehow my client is stuck in “Instantiating”. I am able to move it though but without any effect on the server. The model seems to come back to the spawn point after any movement in the client.
Hi ! Do you use the same Unity and uLink versions of this tutorial? I should check and validate this tutorial also with the latest versions. However the issue you refer to is something i recall experiencing while i was coding, the server is overwriting the transform component, please check your project ,every option of the creator owner and proxy objects should match the tutorial.
Meanwhile i will review the tutorial to check for bugs, maybe we can sort out your problem together.
Also after a quick look i added a page with a video of the final result you should get, and a link to the project and compiled files. Carefully check the uLink Network view component options of the Proxy, Owner and Creator gameobjects.
Thanks for your comment !
I could not switch from manual view id to allocated until i had draged the creator prefab into the project folder! just a heads up for anyone who might have the same problem.