

Rpg combat system tutorial for Unity with simple state machine – part 3
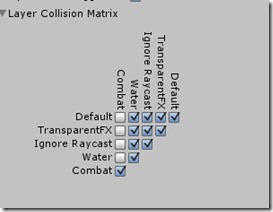
At this point of this rpg combat system tutorial for Unity our scene has 2 important gameobjects, the player and the enemy, with their Collision Box components named CombatBox belonging to a user created Physic Layer that is now behaving as any other default layer. We must change the Combat Layer physic behaviour to make this Layer independent from the others, this way every gameobject belonging to the Combat Layer will calculate collisions only with gameobjects belonging to the Combat Layer, ignoring every other Layer. We need this behaviour as the rpg combat system is a gameplay logic system, not a physic system, so we need to isolate its collision detection to avoid unwanted behaviours. In order to achieve this we need to use the Unity Layer Collision Matrix.
- Open the Physics Preference Panel by clicking on Edit->Project Settings->Physics.
- Select which layers on the Layer Collision Matrix will interact with the other layers by checking them. In our case, we want our Combat Layer to interact only with itself, check the matrix accordingly as you can see in the following image :


As you can see, this Unity Layer Collision Matrix configuration makes our Combat Layer ignoring collisions with every other Layer including the default one. Now we need to modify our scripts, and introduce the actual combat system code in Unity.
Getting the player character attack and damage the enemy
The first script we are going to modify is the PlayerController script, double click on it the project panel to edit it with MonoDevelop or your preferred code editor. On line 22 check for the variables declaration section, and change the boolean variable isAttacking from private to public, so we can check its status from other scripts. The modified PlayerController section should look like the following :
[snippet id=95]
Again inside the PlayerController script, near the end at line 150, modifiy the slash() function call when left clicking with :
[snippet id=97]
Now after these lines modify the slash function to add the combat system state machine basic feature :
[snippet id=98]
If you press the Play button in the Unity editor at this point of this rpg combat system tutorial the player character should move and play the attack animation, but it still can’t damage the enemy ! In order to achieve this needed combat system feature we need to add a new script to the CombatBox gameobject child of our player character, this new javascript script will be named CombatSystem and will manage collisions and states. Create a new javascript named CombatSystem in the Scripts folder, this script will manage the rpg combat system and state machine for our SpartanKing player character and will be attached as a component to his CombatBox child gameobject, the following code is commented to explain how it works :
[snippet id=99]
This script should make visible the player health points and his states.

As this scripts is calling some functions defined on the enemy gameobject via the SendMessage Unity before hit play we should edit also the enemyAi.js to implement these function and allow the enemy to strike back against our player character.
PREVIOUS : Unity rpg combat system tutorial with simple state machine – Part 2
NEXT : Unity rpg combat system tutorial with simple state machine – Part 4
Related posts:
 Rpg combat system tutorial for Unity with simple state machine – part 2
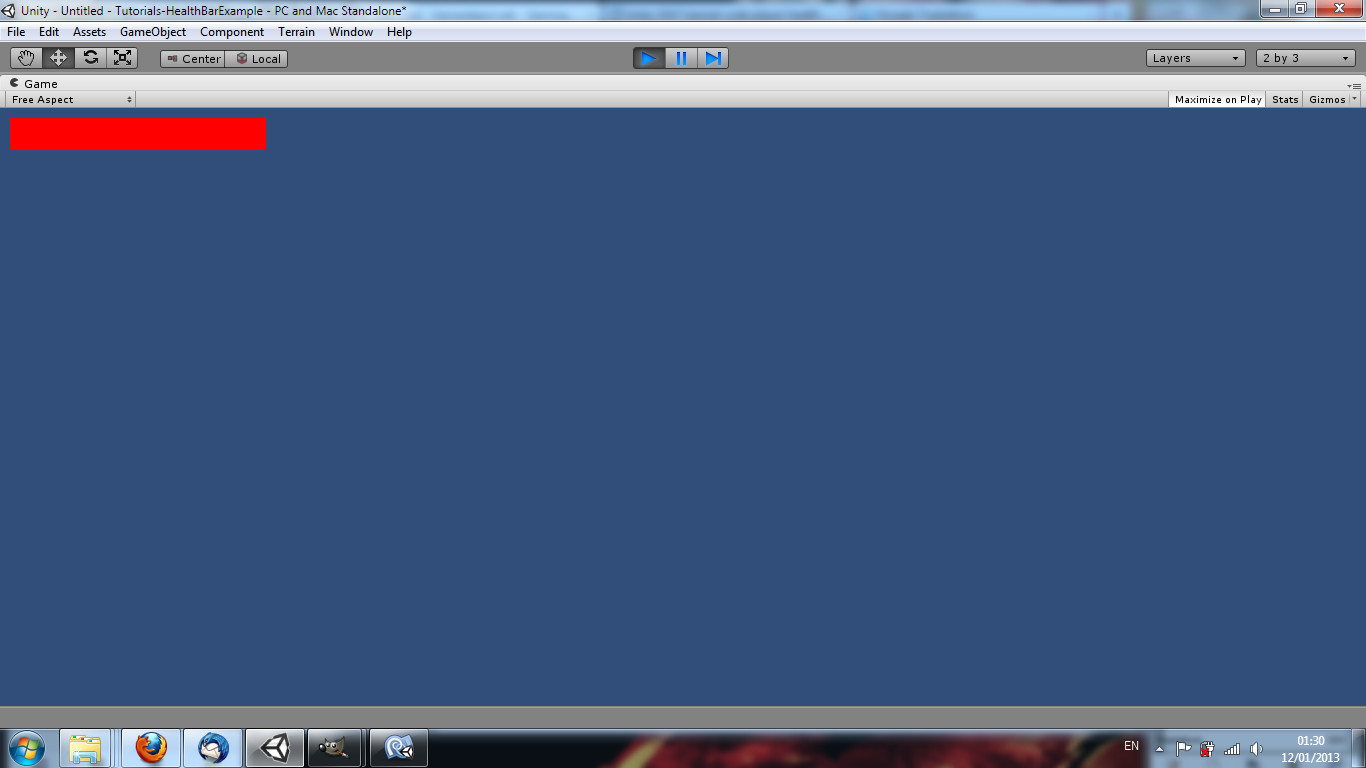 Unity GUI tutorial : simple player health bar in javascript code example
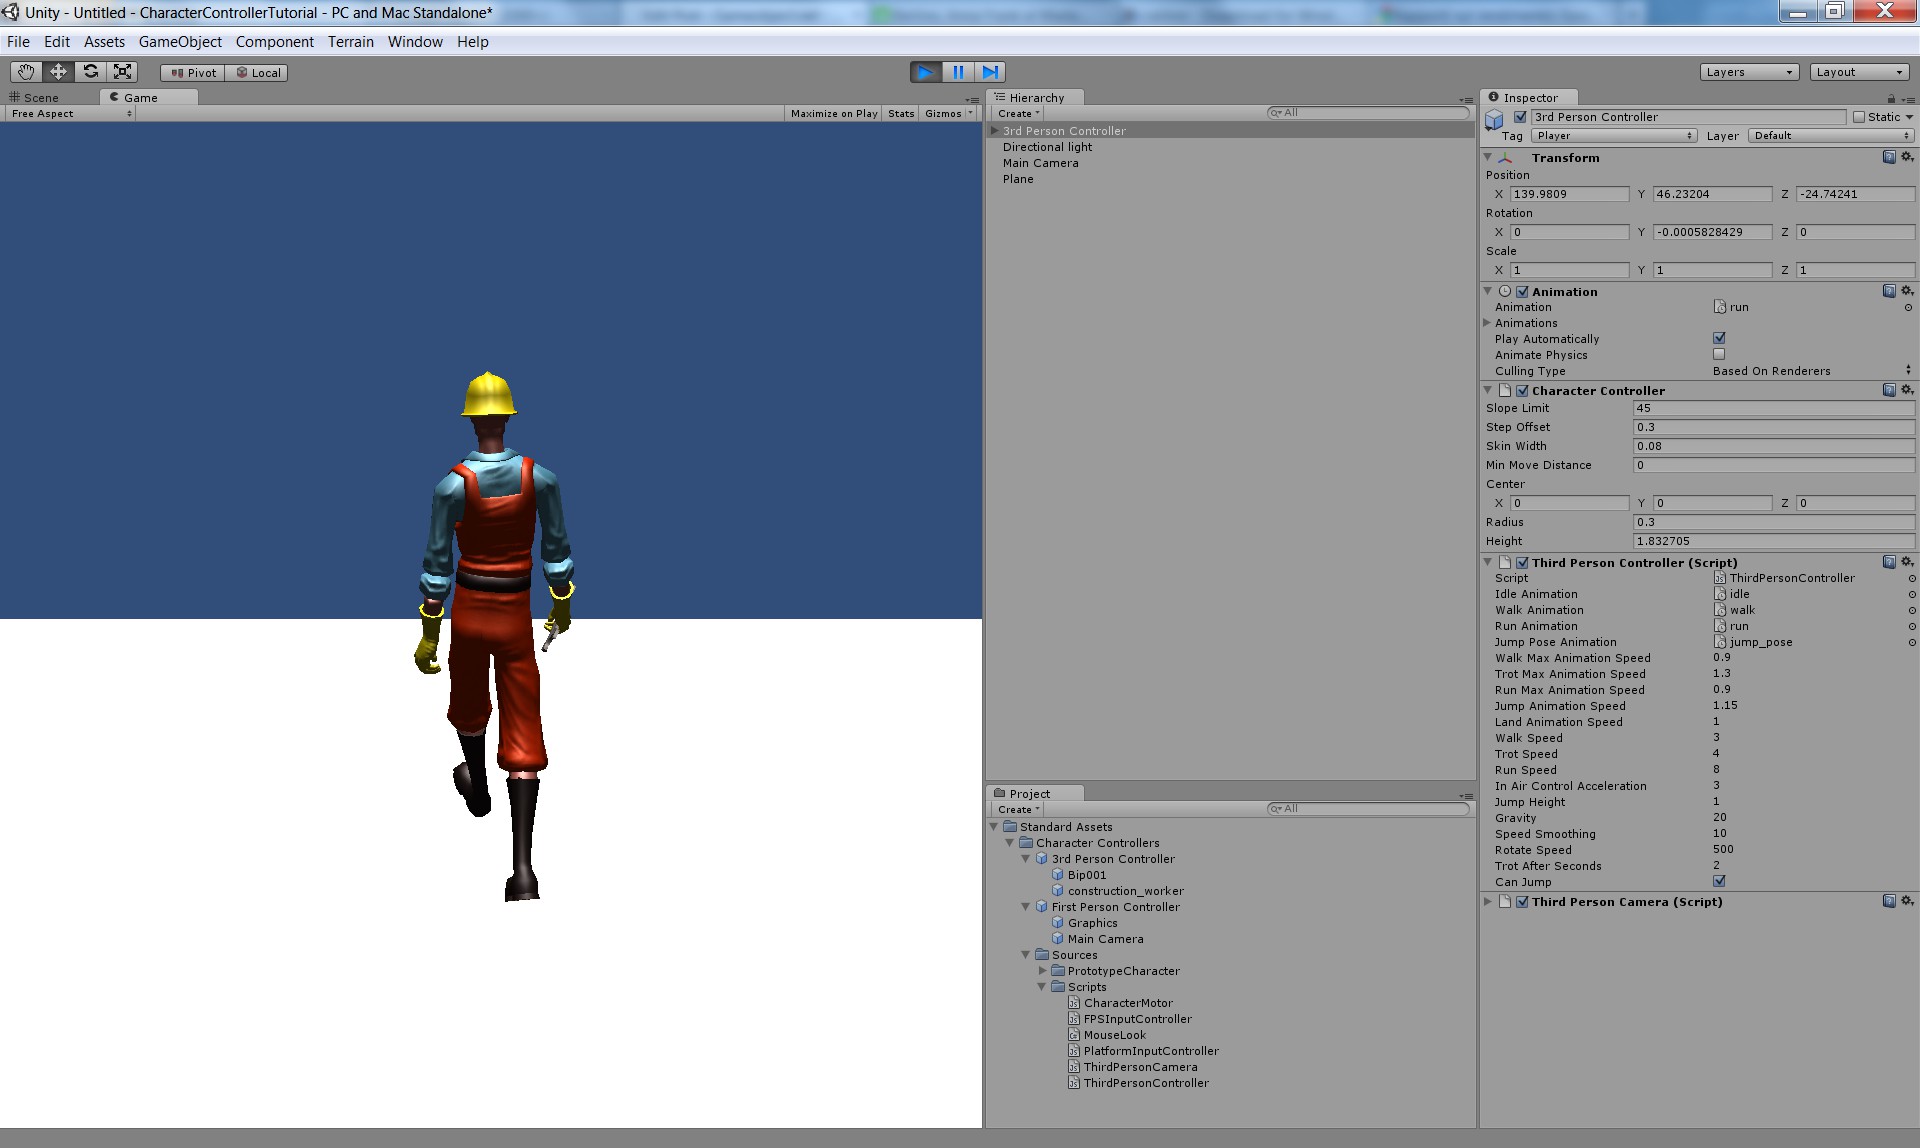 Unity character controller tutorial animations javascript code example
 Tutorial How to move the Player with keyboard inputs in Unity3d keyboard input javascript
1 thought on “Rpg combat system tutorial for Unity with simple state machine – part 3”