As i played videogames through the ages (!) i was impressed to see the evolution of the avatar that we control on the screen, their movements and their mechanics are as of now really lifelike. Also , controlling a character makes something happens on the screen and it’s a clear behaviour that i can check on-screen for defects, so i choose this topic to start this Diary of a beginner game programmer where i plan to document my advancement (hopefully!) in using the unity3d game editor to make a video game, starting from a close to beginner coding knowleadge.
This post is named tutorial only for Google’s keyword sake, in fact there will be many better ways to achieve player control on Unity3d, but i hope that as i am finding simple solutions to obtain results due to my not so great coding skill a beginner game programmer could find these easy resources useful to get kickstarted.
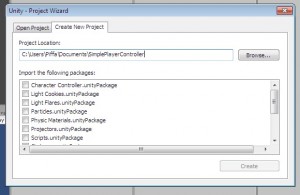
Let’s get started then , open a New Project in Unity3d without importing any Standard Asset bundled with Unity, we will create any gameobject and script we need and finish with a code example for keyboard input javascript .
Then we can create the gameobjects which will form our game scene. From the menu GameObject select Create Other and create a Plane (our reference “terrain”) , a Directional Light (our “Sun” to light up the scene) , and a Cube (the player we will control and move).
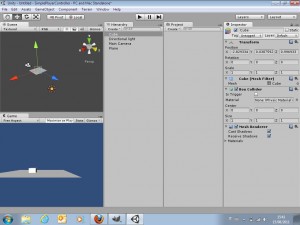
This way we have created a very basic and simple world where our player will move, we will then rename the Cube Player and we will attach the camera in a third person fashion.
Select the Player (our old friend Cube) and from the GameObject menu select Align View to Selected, then in the 3d editor view use the keyboard arrows to move the view behind the cube. Now select the Main Camera and from the GameObject menu use the Align to View command, the camera will be positioned exactly in the 3d editor point of view behind the cube. Now you can translate the Main Camera slighlty above the cube and rotate it to accomplish a third person like view.
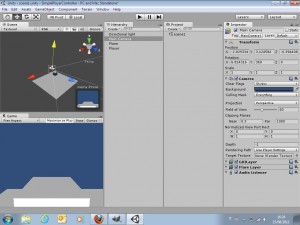
At this point we must make the Unity3d Main Camera a child gameobject of the Player , doing so will result in the Main Camera following the Player and maintaining the third person position we set. This is accomplished by select the Main Camera in the Hierarchy panel and drag and drop it on the Player gameobject.
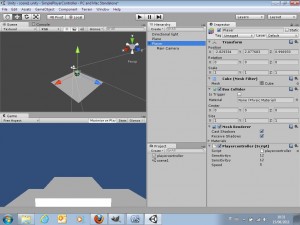
Time (finally!) for some javascript now. We must create the script that will control the player by translate it when we press the specified key. Create a javascript component from the Component menu or from the Create button in the Project panel, name it PlayerController and make it a child of Player by drag and drop it. Double click on the script to edit it with the Unity integrated programming editor Monodevelop or use your favorite program.
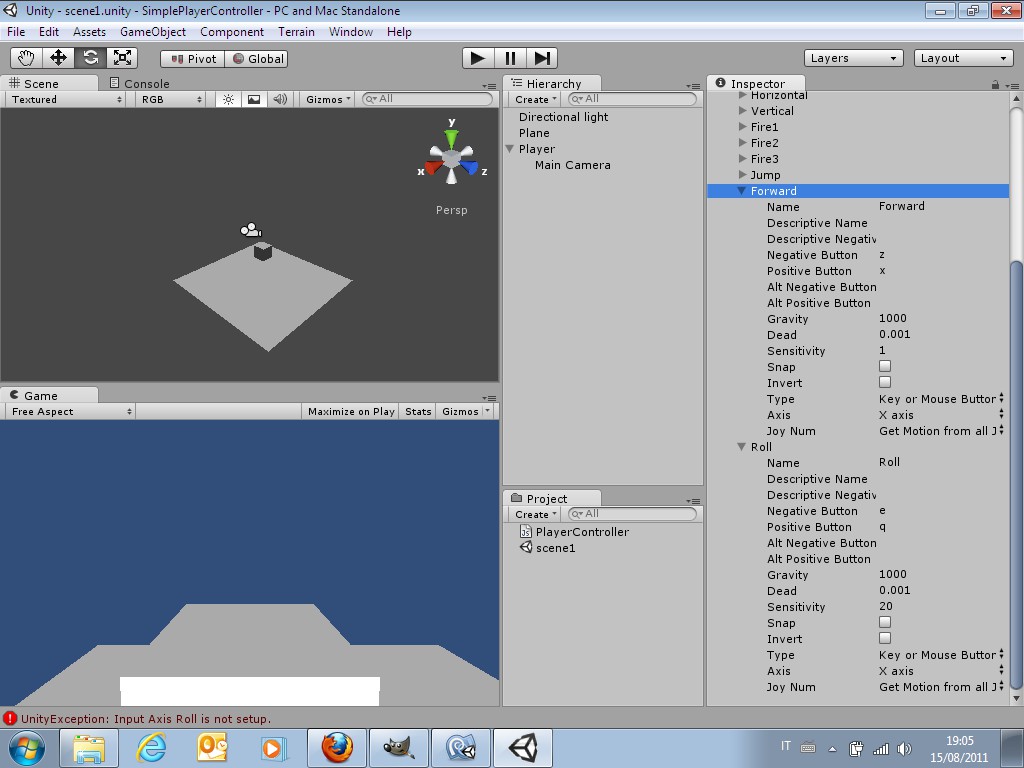
To get hold of Unity input system you must navigate through the Edit > Project Settings > Input menu, Unity names controls as Axis with a positive and a negative key associated, from the Input panel you can add and modify the keys and you can choose their name which will be used in our javascript code. We will need to add a new axis for our code, the one which will command the movement in the forward/backward direction, you have to change the Axis size property, an integer number, by adding 1 to the default size and another Axis will be created named as the last of the list. Change the new Axis Name to Forward and assign a key for positive value and a key for negative, i chose X and Z. Do the same another time to create another Axis named Roll.
Now we are ready to write the code to begin moving our Player with the keyboard, in a very (very!) arcade and simple manner.
[javascript]
var speed : float = 5.0;
function Update () {
var horiz : float = Input.GetAxis(“Horizontal”);
transform.Translate(Vector3(horiz,0,0));
var vertic : float = Input.GetAxis(“Vertical”);
transform.Translate(Vector3(0,vertic,0));
var forward : float = Input.GetAxis(“Forward”);
transform.Translate(Vector3(0,0,forward*speed));
var roll : float = Input.GetAxis(“Roll”);
transform.Rotate(Vector3(0,0,roll));
}
[/javascript]
The code works in a similar fashion for each Axis we defined, the Input.GetAxis(“Insert Axis Name Here”) string reads the value of the input and stores it in a float variable, this variable is then passed to the parent gameobject (the Player-Cube) by the transform.Translate function in the form of a vector that modifies the Transform component of the attached gameobject and moves it. You can trim the magnitude of the movement by modifying the Input property Sensitivity for each Axis or by creating a variable in your code that acts as a multiplier like the var speed i created in my code.
This is a simple way to achieve player move with keyboard inputs in unity3d, it is quick and gives a starting point to see cool things happening on the screen. If you can get a look at Unity3d bundled script in the Standard Asset directory (character controller) you can that there are a lot lines of code required to achieve a good controlling script, that’s because when animations and World vs local coordinates enter into play the task quickly becomes more difficult to handle. You can delve into the Standard Asset script to get a better knowledge of the character controlling system.



1 thought on “Tutorial How to move the Player with keyboard inputs in Unity3d keyboard input javascript”