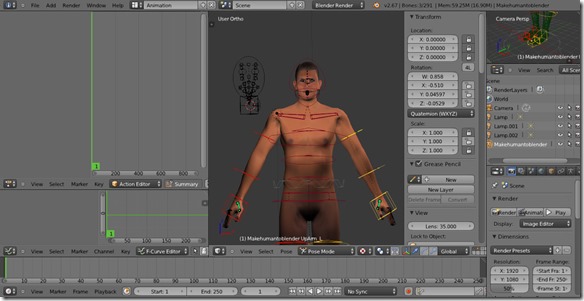
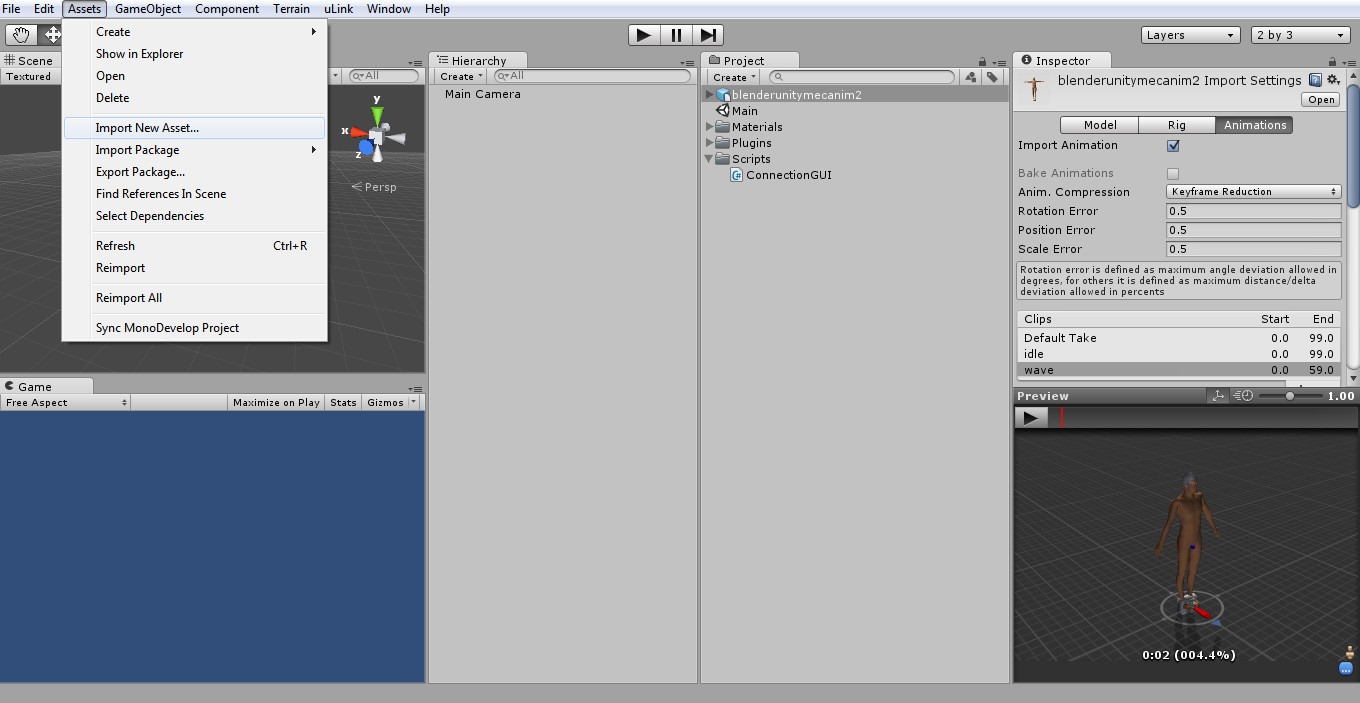
Blender unity mecanim pipeline tutorial: animations import and workflow
In this tutorial you will learn how to set up a working blender unity mecanim pipeline with animations import and Mecanim workflow integration to use your animated character in latest Unity animation system. This tutorial will configure a free asset workflow using Blender 2.67 and Unity 4.1.5, by using these free game programming tools you can create and animate your own game 3d assets without expensive license for 3d design software like Maya Autodesk or 3D Studio. Using a free blender unity mecanim pipeline will grant that you can publish your game without license worries !
Get started with this Blender to Unity pipeline tutorial: animations import and Mecanim workflow example by downloading the required free software :
- Download Blender : free 3d editing software for your operating system
- Get Unity free game development tool for Windows, Mac and mobile systems
- Get free Autodesk FBX Converter software for Windows or mac
Import an animated and rigged human male character from Blender to Unity
To start configure our blender unity mecanim pipeline we need an animated 3d model to export. A human character model with rigging and skeleton bones ready to be animated will be the perfect example for this tutorial. I used makehuman to automatically create a 3d rigged character model for Blender, you can refer to my other tutorial How create a fully rigged 3d free character model with makehuman.
- Click here to blender_unity_mecanim_human_male_character_model free 3d human character model .blend created with makehuman.
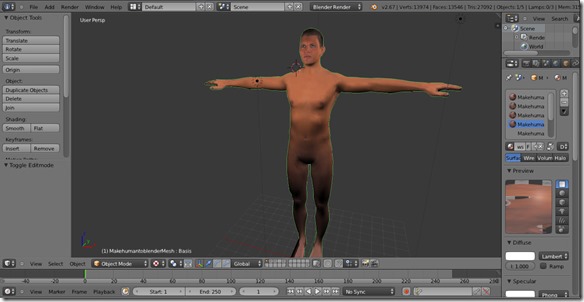
This model it’s just an example, you can apply the steps described in this tutorial to every 3d asset you want, you can even create from scratch your model in Blender.
Now we have the 3d character model imported in Blender, in the classic T-pose, ready to be animated. To pack different animations in the same .blend file we will use Blender actions.
Character animation with Blender actions
The first step to work with actions in Blender is to configure the Blender UI to set up the action editor.
- Launch Blender, select File->New, select all starting objects (light,camera and cube) with the A key and delete them by pressing X. You should now have an empty scene. Now Open the 3d character .blend file downloaded previously. The Layer 1 contains a human male character high quality model (makehuman default), Layer 2 contains the character rigging for animation and Layer 5 contains the low poly version of the character model.
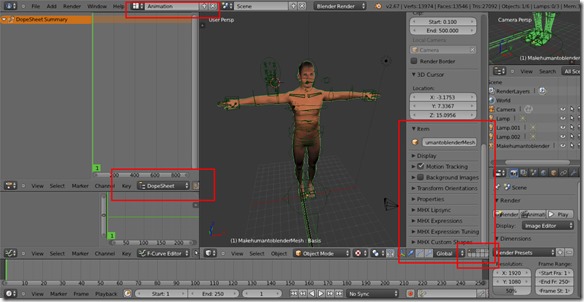
- Click on the screen-layout dropdown menu and change the selection from Default to Animation.
- In the Animation layout change the Dopesheet window to Action editor, we will animate our character using the action editor to pack multiple animations into one blender file.
- Press the N key when in the 3d view to bring up a menu panel that contains useful controls for rig options. Make sure to select the proper layers to work on, Layer 2 (rigging) must be always visible, you can choose the high quality or low quality model by selecting Layer 1 or 5.
Create different animations and save each one into a Blender action
Now we are almost ready to move from object mode into the actual pose mode to animate the character’s skeleton and the mesh will automatically deform accordingly to bones movement. To get to pose mode follow the next step to go trough this blender unity mecanim animation tutorial :
- Right click in the blender’s 3d view on a bone, with the bone selected (or if you are in object mode all the skeleton as an object will be selected) open the Mode dropdown menu and select Pose Mode. This option will be only available with a bone selected.
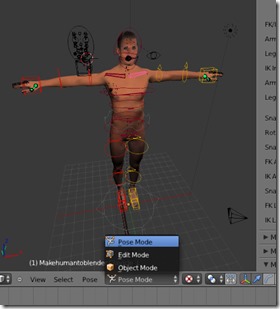
- When in pose mode the side menu you bring up with the N key will be populated with new options regarding bones and animations, the most important options of this menu are the MHX FK/IK Switch and the MHX Layers panels. The MHX Layers side panel will aid you to select visible bones and animation controllers, useful when you are using a specific bone set and you want to hide the others to ease your work. The MHX FK/IK Switch panel will switch the animation controls between Forward Kinematic and Inverse Kinematic letting you decide which mode is better for your specific custom character animation.
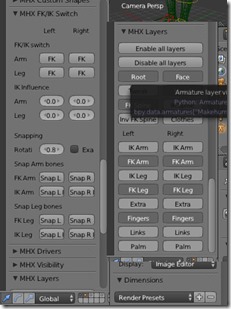
- Now you should be Pose Mode and with an Action Editor window open. Actions are a blender’s feature that let you store animation keyframe sequences and save them with a name, this makes possible to create different animations and call them via their action name. In this blender unity mecanim workflow tutorial you will be instructed in how to create two simple character animations and save them into blender’s actions.
- With the character in T pose, and the Forward Kinematic mode selected ( don’t change anything, it’s the model’s default mode ) double click on the left hand effector, the colored box around the character’s left hand and press the G key to move the hand. Now you can see the character’s arm moving following the hand, to restrict the arm movement around the Z axis press the Z key and then proceed to move the hand near to the character hip to achieve a normal pose with the hands pointing down, press the left mouse button to accept the pose.
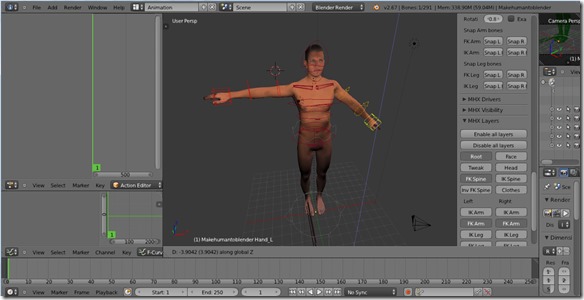
- To perfectly mirror the pose on the other side of the character, right click to select all the visible arm’s controllers (the hand box and the elbow and armpit circles) and go to Pose->Copy Pose then Pose->Paste X Plipped Pose. From this rest pose we will create our two simple animations to give an example of blender unity mecanim pipeline workflow.
