

How to compile and publish your game on Android with Unity tutorial
In this tutorial i will show you how to compile and publish your game on Android with Unity, starting from installing Android software development kit (Android SDK) to configure Unity to create an Android executable and then run and debug your game in your Android platform or emulator. I assume you are using Unity 4.1.x and starting from a clean system with only the Unity client installed. The game we are going to use as a test application for this how to compile and publish your game on Android with Unity tutorial will be a simple scene with a cube and some touch command inputs, creating this simple Unity scene will be the first part of this tutorial.
Create a rotating cube in Unity with touch inputs
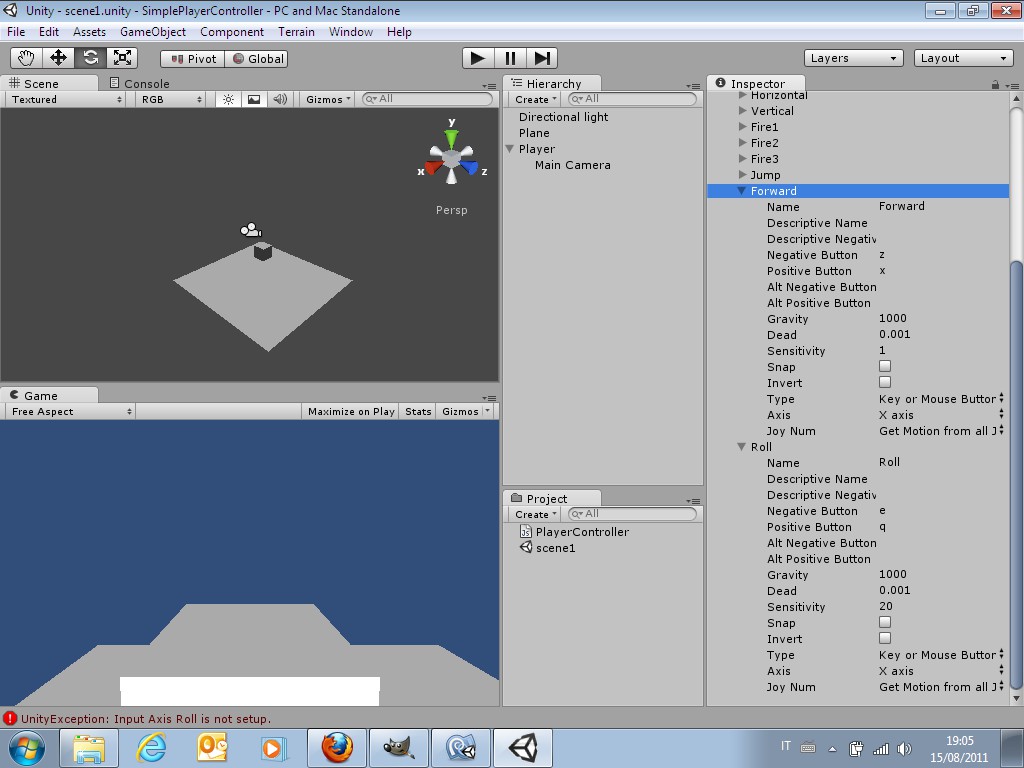
Create a New Project in Unity using the wizard and don’t import any package, this will be a rally simple scene with only lights and a cube. Create a cube by clicking on GameObject->Create Other->Cube menu and move your point of view to see the cube like in a Isometric projection. Now select the Main Camera in the Hierarchy panel and click GameObject->Align with View to move the actual scene camera in your point of view. To make the cube rotation clearly visible we are going to add three point lights with different colors pointing to different faces of our cube. Click on GameObject->Create Other->Point Light to create the first light, since we need to position this light near the cube we are going to make the light a child of our cube, by doing this the light position will be relative to the parent gameobject (the cube). To make the light a child of the cube just select the light in the Hierarchy panel and Drag and Drop it onto the cube name in the same panel, then set the light transform XYZ position values to 0,2,0 to place the light just above the cube. Now we need to duplicate the light two times, select the light (child of cube) in the Hierarchy panel and press CTRL-D two times, then change the duplicated lights transform positions to place one in front and one to the right of the cube. Also change the light’s color to get a better effect, you should have now a scene similar to the following image :
 Now it is time to create a quick javascript to get the cube rotating when you touch the screen, in the Project panel select Create->Javascript and name this new file RotateCube.js and paste in it the following javascript code example :
[snippet id=102]
Save the code in your preferred editor and drag and drop the RotateCube.js script onto our Cube to add it as a component.
Now if you try to compile and publish your games for Android Unity will fire up an error warning that the Android SDK can’t be found and exiting the compile process. Follow this how to compile and publish your game on Android with Unity tutorial to solve the Could not locate Android SDK Unity error.
Installing tutorial Android SDK for Unity mobile development
Here is a step by step guide to install Android SDK on your system to compile your game with Unity :
- Go to the Android Developer SDK webpage. Download and unpack the latest Android SDK in a directory, since we don’t need the Eclipse IDE you should download only the Android SDK (Not the Bundle) by clicking on the USE AN EXISTING IDE menu option. You should end with an .exe named installer_r(version)-windows, double click on it to install the Android SDK.

- Once you installed the Android SDK, you should start the Android SDK Manager to download platform files and system images, you should make sure that you add at least one Android platform with API level equal to or higher than 9 (Platform 2.3 or greater), the Platform Tools, and the USB drivers (located in the EXTRA folder) if you’re using Windows.
 The SDK Manager will download and install the selected packages.
 - Now the final step to compile and publish your game on Android with Unity is to add the Android SDK path to Unity. The first time you build a project for Android (or if Unity later fails to locate the SDK) you will be asked to locate the folder where you installed the Android SDK (you should select the root folder of the SDK installation). The location of the Android SDK can also be changed in the editor by selecting Unity > Preferences from the menu and then clicking on External Tools in the preferences window. Now you should be able to successfully compile your game with Unity on Android platform.


Run and Testing your Android game on windows with Bluestacks emulator
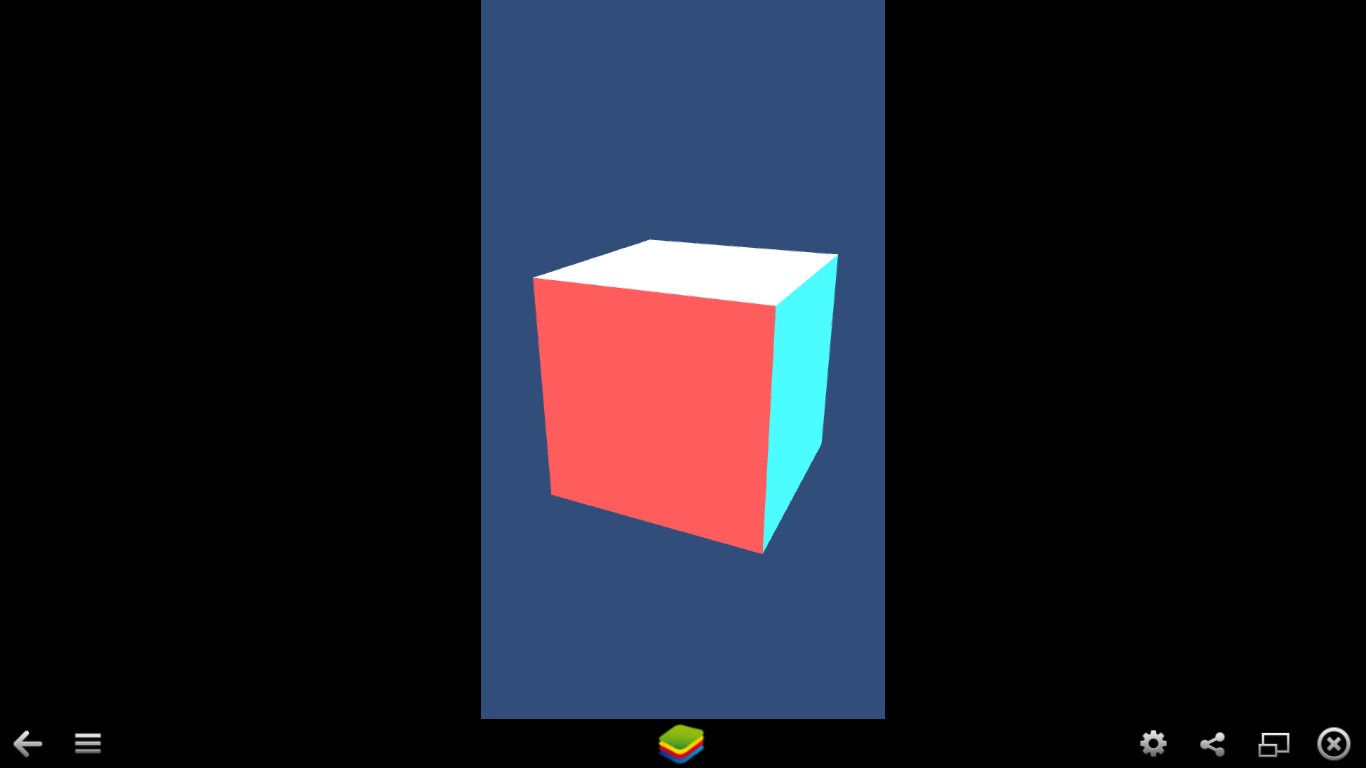
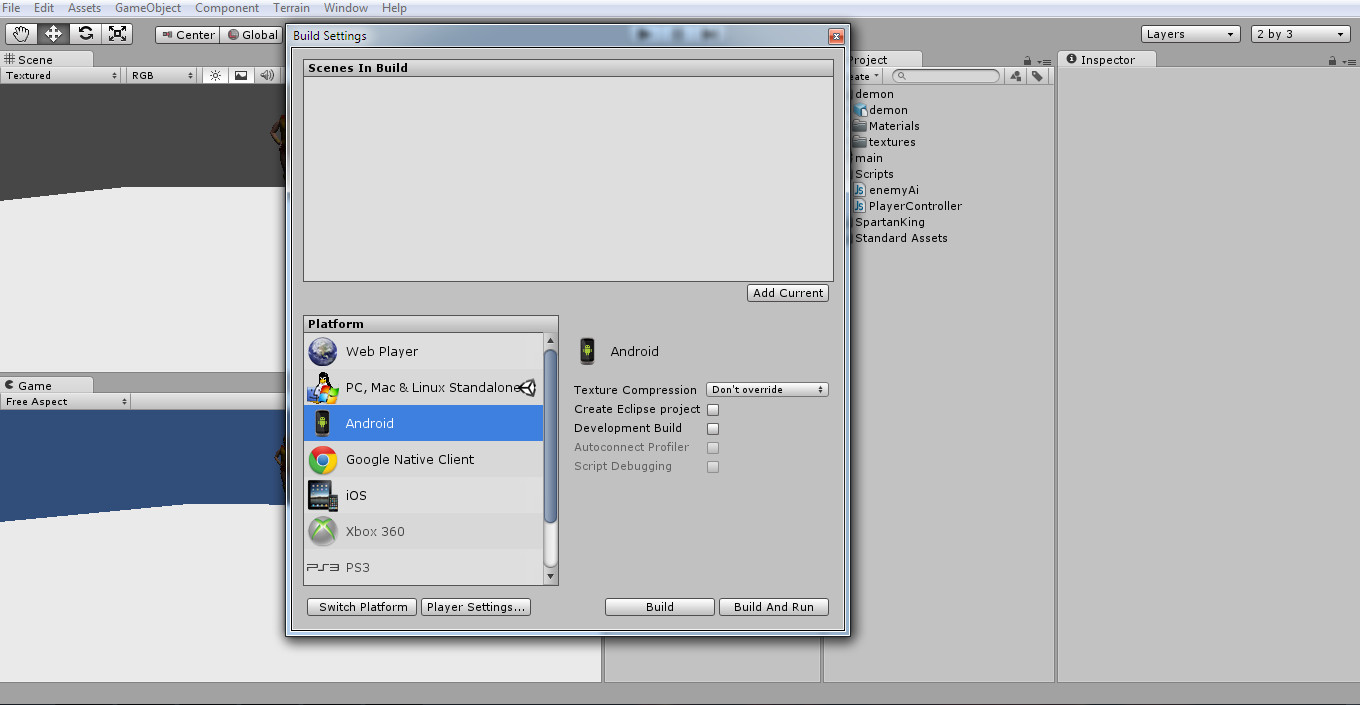
If you don’t own an android device or if you don’t want to mess with device debugging configuration you can run your .apk android application generated by Unity in a windows emulator named Bluestacks. Download Bluestacks Android emulator and install on your system, you should be able to run you Unity Android game on your windows pc by double clicking on the .apk and letting Bluestacks run it. Just make sure to target your Unity android build not to the latest 4.2.2 API Version, it will throw out an INSTALL_FAILED_OLDER_SDK error if Bluestacks doesn’t support that version. I used to test the game the API 10 (Gingerbread 2.3.3) version, you can configure it in Unity Build Settings-> Player Settings –> Minimum API Level , make sure to have that API level downloaded and installed in Android SDK Manager.

In Bluestacks you can even rotate the cube with your mouse without the need of a touch device !
Related posts:
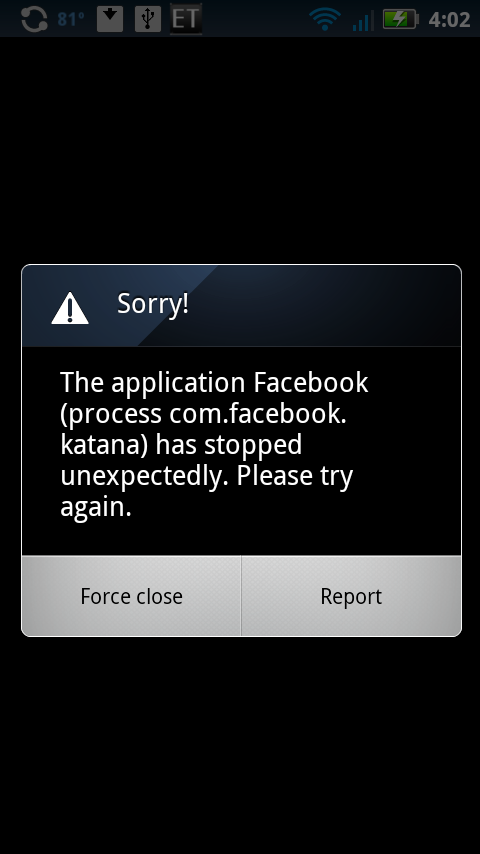 Unity android error avd startup crash : the application stopped unexpectedly
 Tutorial How to move the Player with keyboard inputs in Unity3d keyboard input javascript
 Unity Free now lets publish your game on Android and apple IOS for free !!!
 Easiest Unity video tutorials for beginners game programmers
Good tutorial.
One error in it though, you talk about making the light “a parent of our cube” and then describe how to make the light a child of the cube. In the scenario the cube is the parent.
Otherwise very good. Cheers
Thanks for this, i am correcting it now, somehow i had parenting in mind and i wrote parent instead of child. Thank you !