

Makehuman to Blender human character import
Hop now into Blender to see the Makehuman to Blender export results. Create a new blender scene and delete the starting Cube.
- Select File->Import –>Makehuman (.mhx) to go into the directory browser. Locate the exported .mhx file (C:/Users/Username/Documents/makehuman/exports ), in the lower left Import MHX panel you will see a dropdown menu named Advanced Settings, expand it to reveal more Makehuman to Blender import options. Select the file to import and press the IMPORT MHX button.

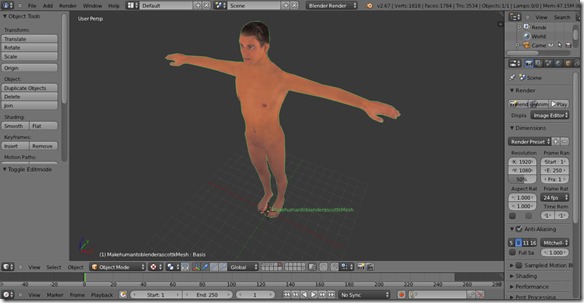
- Now you should see in Blender Default mode your 3d human character model fully rigged, but you should note that there are some problems. First the exported model visible is not the low poly 3d human character we selected but it’s the high quality one, and it is not textured resulting in a white skin color.


Solving Low poly 3d character model Makehuman to Blender import problem
We will first solve the high poly/low poly character version problem. Blender and other 3d editing software works with Layers, what is assigned to a specific Layer is visible only if that layer is selected as visible. Makehuman to Blender character import via the .mhx files contains the high poly default makehuman character model packed together with the low poly ascottk proxy suitable for mobile development, as we imported the model the default layers configuration is to make all layers visible. Thus the high quality model overlaps the low poly and make it not visible. The lower menu in Blender has Layers controls.

- Makehuman to Blender imported file has the following Layers configuration in Blender : Layer 1 is the high quality high poly human model (without the Hair mesh), layer 2 contains the exported character rig, layer 3 is the hair mesh, layer 5 is the low poly character model ascottk proxy, you can single click on them to see and select what you want. If you want to animate the character, select the rigging layer and the mesh layer (high or low your choice) to see how the animation deforms the mesh.

- To bring up more Mhx animation options like the Forward Kinematics / Inverse Kinematics switch or Rig bones and layer selector (To select visible bones inside the rig layer) press the N-key in Blender’s 3d view.

Solving Makehuman to Blender texture problem (White character skin Blender mesh)
In the Makehuman and Blender version used in this tutorial there is a texture import problem that i hope will be fixed in next releases. Makehuman to Blender mhx import can’t correctly assign textures to character meshes (high and low quality), resulting in a white character skin mesh in Blender, not textured.
- To solve this Makehuman to Blender texture problem select only layer that contains the mesh you want to texture, for example click on layer 5 to make visible only the low poly character ascottk mesh, right click on the mesh now to select it.
- Display the model in Textured mode to see the white skin texture problem, go into Object Mode and select the Textured option in the drop down menu as in this picture :

- If you select the Materials menu in the right panel you can see that there is a material assigned to the low poly 3d character mesh named FilenameSkin.001, but the texture is not rendered resulting in the white skin mesh. With the character mesh selected change Blender mode to UV Editing. In the right panel change from Object Mode to Edit Mode to make appear in the left panel the UV map of the character mesh.

- Now in the left panel inside the UV Editor window click on the left of the New button and with the mesh selected and in Edit Mode select the skin texture to assign to it.

- Now the skin texture should be visible in Blender, go in the Default mode to see the results. If you want to texture the Hair mesh do the same with it.


Animate rigged character model in Blender with actions for easy Unity import
With this Makehuman to blender tutorial you should now have a fully rigged 3d human character, high poly and low poly count fully textured ready to be animated and used in your games or applications. In a following tutorial i will go through the Blender to Unity workflow to get this character animated and exported into Unity with the new Mecanim animation system. Makehuman is really a great tool to have a good character model to quickly prototype your game ideas and gets things moving and showing soon.
Related posts:
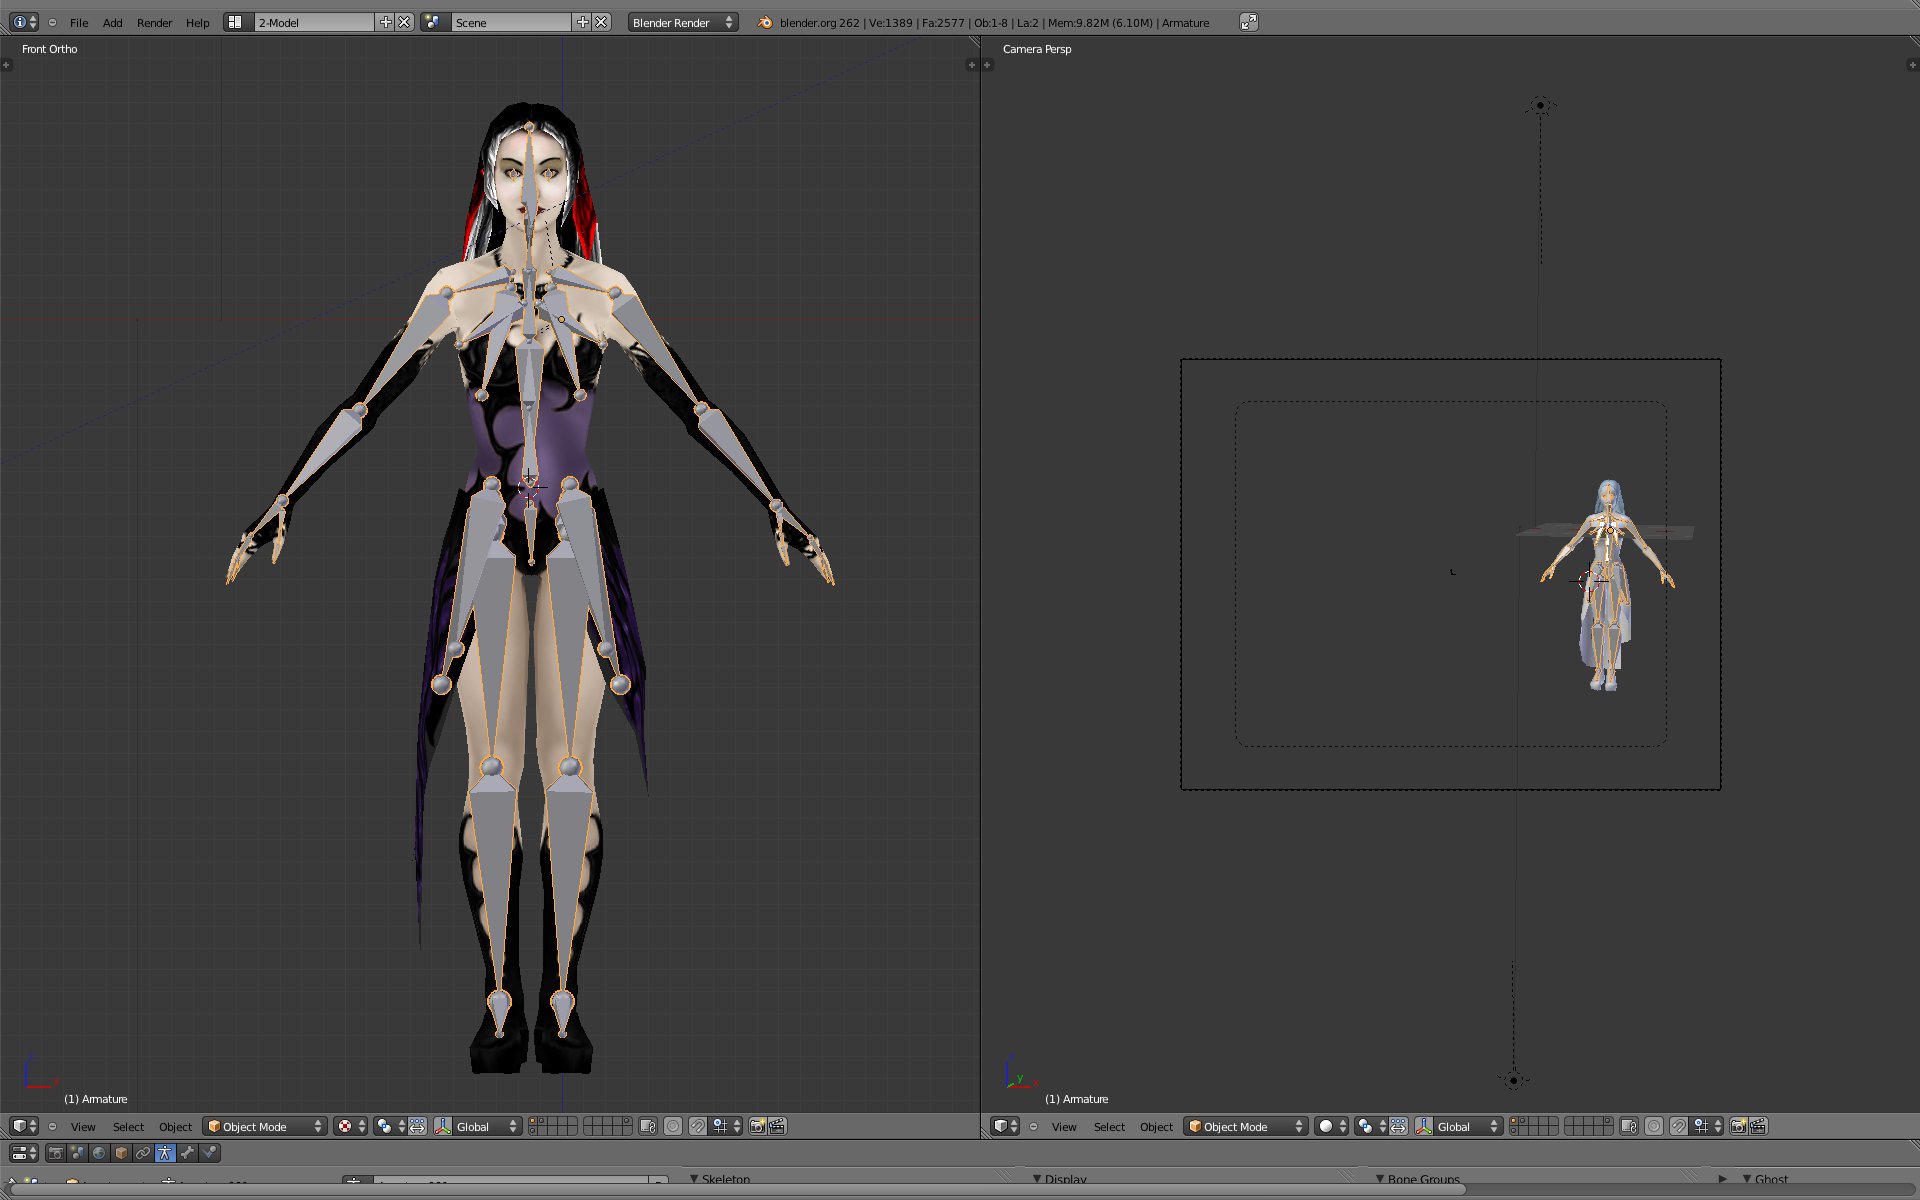
 blender unity mecanim pipeline tutorial: animations import with actions
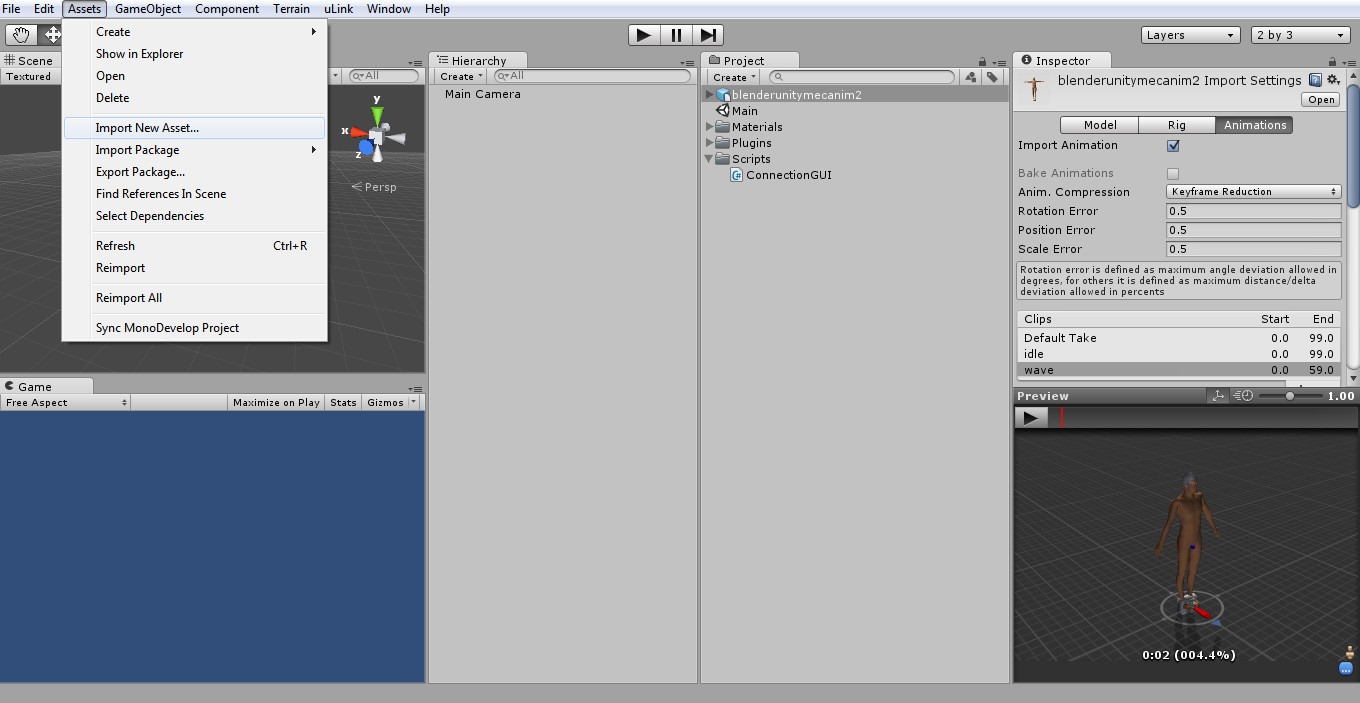
 Import animated model from Blender to Unity and play the animation with scripting
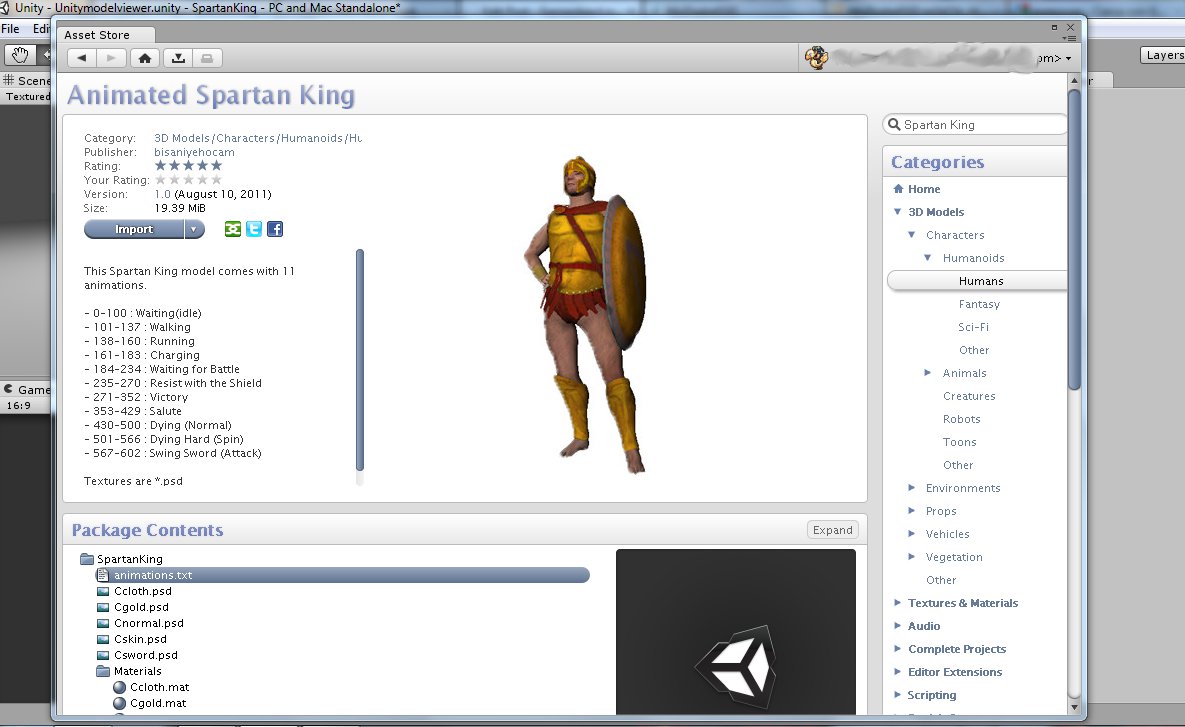 Unity free character 3d animated model melee weapons and combat animations
the current version is already possible to import the model with texture,
just activate the game engine GLSL mode.
my version is Makehuman 1.0 alpha 8.
Thanks for the information, i will look into this, let’s hope that with the newest makehuman and the upcoming Unity 5 things will go smoothly.