Contents - Quick Links
Makehuman to Blender 3d character export tutorial
In this makehuman to blender tutorial you will learn how to create a 3d character with makehuman and export it to Blender 2.69 to modify or animate it. Makehuman lets you automatically create and customize an human character 3d model, you can use Blender to animate this model but you will need to export the Makehuman file in a format Blender can open. To start this Makehuman to Blender tutorial we will need to set up our development environment by downloading the right tools.
Download Makehuman, Blender and Blendertools
To start with this makehuman to Blender tutorial we must download the needed files, we need 3 downloads :
- Go to the Makehuman official website and click on the downloads link ( http://makehuman.org/content/download.html ) , you will need to download the Makehuman 1.0.0 version suited for your platform. Makehuman doesn’t need an installation since it is written in python, so unzip the archive on you pc and you are set, you can run makehuman by double clicking on the Makehuman.exe .

- In the same page, scroll down and look for Makehuman Blendertools, download it as we will need Blendertools to act as a bridge between Makehuman and Blender allowing the latter to be able to import Blender Exchange Format .mhx files. Unpack the packed file in a directory.

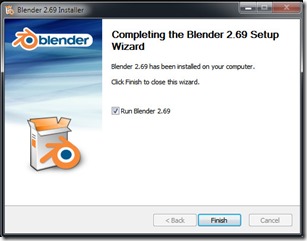
- The last software we need to download is Blender 2.69. Since now Blender is on version 2.70 we will download the previous version from this link http://download.blender.org/release/Blender2.69/ . I will update this Makehuman to Blender export tutorial if the exporting tools work also in 2.70 . Install Blender 2.69 on your machine.

Installing Blendertools onto Blender 2.69 to allow importing
To be able to open Makehuman files we shall install Blendertools onto Blender 2.69 as a plugin. Go in the directory where you unpacked Blendertools.We need to copy the plugins in the correct directory where Blender can find it.
To install the addons, the subfolders must first be copied to a location where Blender can find it. Depending on the operating system being used, the addons destination directory where Blender will look for user-defined add-ons, is
- Windows 7: C:\Users\%username%\AppData\Roaming\Blender Foundation\Blender\2.6x\scripts\addons
- Windows XP: C:\Documents and Settings\%username%\Application Data\Blender Foundation\Blender\2.6x\scripts\addons
- Linux: /home/$user/.blender/$version/scripts/addons
Note that the AppData folder in Windows 7 and the .blender folder in Linux are hidden folders. The location may also be different depending on your choices for setting up your operating system and Blender. For more information see the Blender documentation.
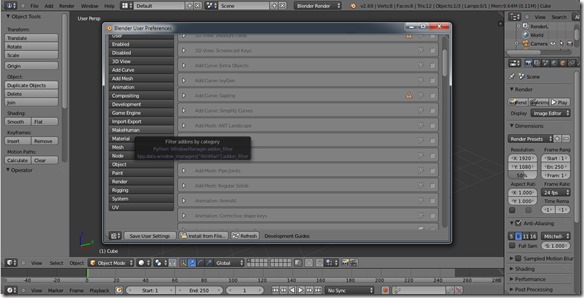
To enable the MH addons, in Blender open the User Preferences window from the File > User Preferences menu, and go to the Addons tab. The Blendertools addons are located in the MakeHuman category. You know that your makehuman plugins installation went well if you can see this Makehuman category.
Enable them by checking the box in the upper-right corner, next to the running man symbol. If you want Blendertools to start every time Blender is restarted, press the “Save User Settings” button.


