

Move and animate a model with Unity character controller tutorial
In this Unity character controller tutorial we will write a simple javascript code example to move our character and play custom animations for different keyboard inputs. The goal is to create a personal character controller script that parses our keyboard inputs and transforms it in player character movements in space with the right animation. To read an introductionary tutorial to player movement with keyboard inputs and to character 3d modelling and animating click con the following link :
- Tutorial How to move the Player with keyboard inputs in Unity3d keyboard input javascript
- Import animated model from Blender to Unity and play the animation with scripting
Get started with Unity character controller tutorial
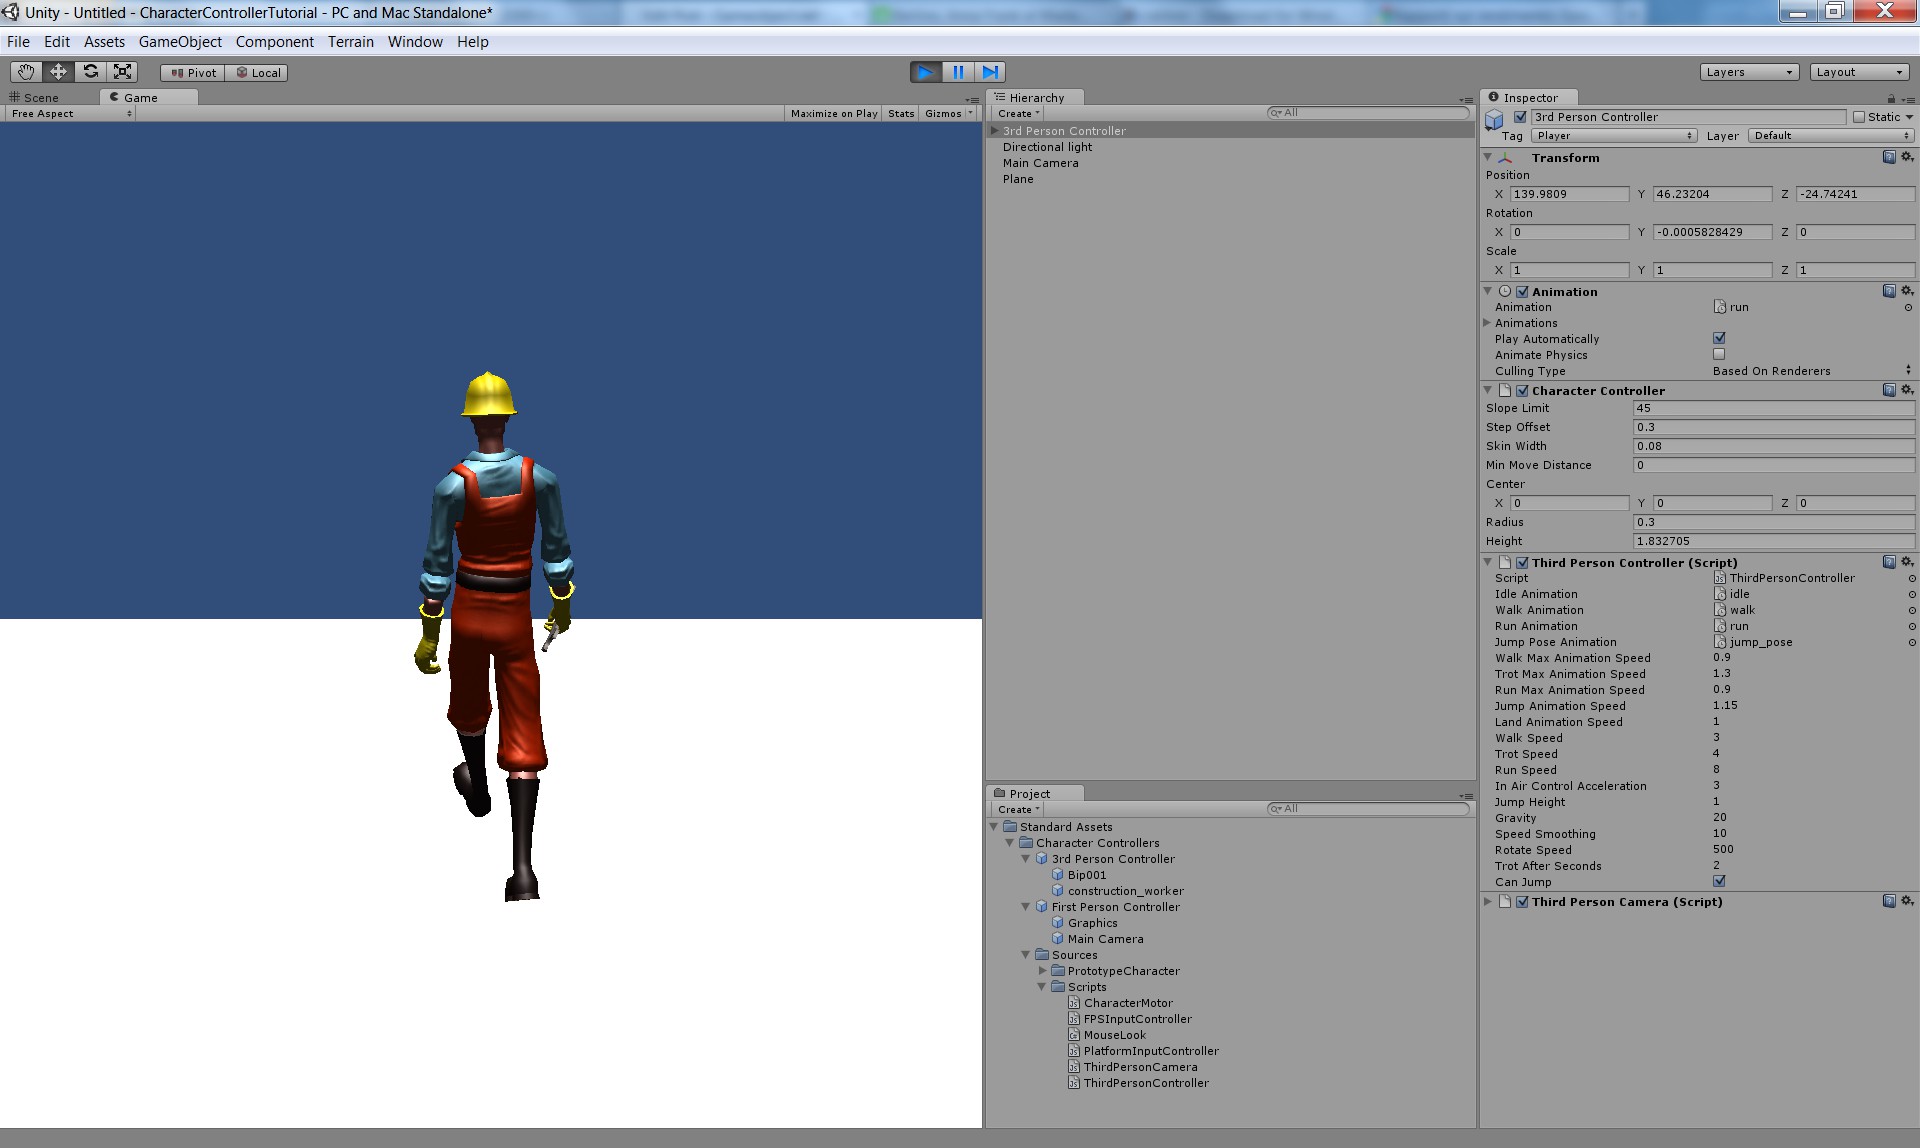
To get started with this Unity character controller tutorial we will need to start a new Unity Project and select the Character Controller unitypackage only to import. Then proceed to set up a simple scene with a plane, a directional light and a Main Camera. You can find how to set up this simple Unity scene in the previous tutorials. Since we started this project importing the Character Controller unitypackage we will work with Unity’s default player animated model named Constructor that you can find via the Project Tab in Standard Assets >> Character Controllers >> Sources >> PrototypeCharacter. Grab the Constructor prefab and drop it into the scene, press the Unity play button and you can see how nothing happens when you press WASD keyboard input controls. This Unity character controller tutorial will show you how to create your own personal character controller to make the character move with WASD controls.
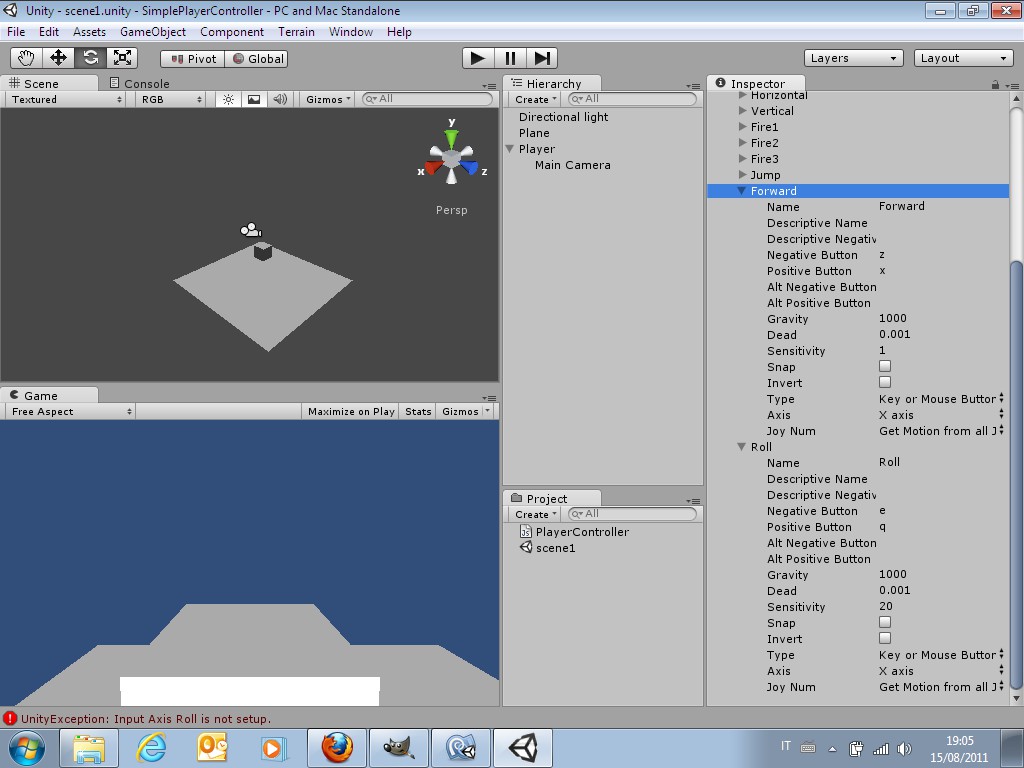
To begin working with the Unity character controller code we must add a new custom keyboard input key, because we want our character to walk at a certain speed but also to run at an higher speed. Go in Unity and select the EDIT menu, then Project Settings and then Input. In the Inspector will be opened a panel named Axes, it’s an array that contains the total number of key control inputs available to Unity and each key individual name and sensitivity settings. You can see that there are two Jump Axes in the list, we must change the last one in our custom Run button. Click on the last Jump in the Axes list to open its properties dropdown menu, change the Name field to “Run” and the Positive Button field to “left shift”. What you type in the Name field is how you will call that key from the scripts, while the Positive Button field is the actual input, you can read the Unity Input manager documentation by CLICKING HERE.


Working with Character Controller component
If you press the Unity play button after placing the Constructor prefab in the scene you should not be able to control the character via keyboard input. Also the camera taking the point of view will be our default Main Camera. The Animation component is needed to play the animation and to list and store the model’s available animations. The Character Controller component is what gives our model a physical hitbox for collisions, it is the green capsule around the constructor worker model, we will need our script to interface with it to use some of its many useful function.
Create a new javascript file in the Project tab and name it PlayerControl.js, from there drag and drop it on our Constructor in the Hierarchy tab to assign it to the worker. Double click the PlayerControl script to open it and edit in MonoDevelop. You should see two function named Start and Update in the javascript code. We will need to hook to the Character Controller component because it contains some functionality defined by Unity devs that we can definitively use. To do so, we will need to write some code in the Start function, because we only need to identify the Character Controller component once since it never changes, making the same thing in the Update function would be an unnecessary waste of hardware resources. the javascript code example is commented to help understanding of code.
[javascript]
/* WASD keyboard input player movement control with jump
and mouse rotation – Unity javascript Gameobject.net*/
#pragma strict
var charController:CharacterController ;
/* Create a variable of type CharacterController to store
our component and call it in the script */
var walkSpeed : float = 1 ;
var runSpeed : float = 1.8 ;
var rotationSpeed : float = 250 ;
var jumpForceDefault : float = 2 ;
var cooldown : float = 5 ;
private var jumpForce : float;
private var gravityPull : float = 1;
/* Jump action related costants */
private var isRunning : boolean ;
private var isWalking : boolean ;
private var isStrafing : boolean ;
private var isJumping : boolean ;
private var isAttacking : boolean ;
private var isIdle : boolean ;
/* Create boolean status variables to identify animation
status, e.g. what am i doing right now? */
function Start (){
var cc : CharacterController;
cc = gameObject.AddComponent(“CharacterController”);
/* Adds a Character Controller component to gameobject */
charController = GetComponent(CharacterController);
/* Assigns it in the charController variable to use it */
// Set all animations to loop
animation.wrapMode = WrapMode.Loop;
// except shooting
animation[“attack”].wrapMode = WrapMode.Once;
// Put idle and walk into lower layers (The default layer is always 0)
// This will do two things
// – Since shoot and idle/walk are in different layers they will not affect
// each other’s playback when calling CrossFade.
// – Since shoot is in a higher layer, the animation will replace idle/walk
// animations when faded in.
animation[“attack”].layer = 1;
// Stop animations that are already playing
//(In case user forgot to disable play automatically)
animation.Stop();
}
function Update(){
charController.Move(transform.up * Time.deltaTime * -gravityPull * 1);
/* Gravity */
if(Input.GetAxis(“Vertical”) > 0){
/* If the Vertical input axis is positive (by default by
pressing W or up arrow) */
if(Input.GetButton(“Run”)){
isRunning = true ;
animation.CrossFade(“run”);
/* While Run button is pressed play run animation, with
Crossfade try to blend nicely different animations )*/
charController.Move(transform.forward*Time.deltaTime*runSpeed) ;
/* While Run button is pressed move faster !) */
/* Use the Move function, Time.deltatime makes things go
equally fast on different hardware configurations,
by moving in the forward direction with walkspeed */
isRunning = true ;
/* Set the isRunning flag as true since i am running */
Debug.Log(“isRunning value is” + ” ” + isRunning);
/* Tell me what i am doing now */
}
else{
isWalking = true ;
/* Else if i am moving forward and not running i walk */
animation[“walk”].speed = 1;
animation.CrossFade(“walk”);
/* While walk button is pressed play walk animation ! */
charController.Move(transform.forward*Time.deltaTime*walkSpeed) ;
Debug.Log(“isWalking value is” + ” ” + isWalking);
/* Tell me what i am doing now */
}
}
else if(Input.GetAxis(“Vertical”) < 0){
isWalking = true ;
/* Do the same for the back direction, no back run! */
animation[“walk”].speed = 0.5;
/* revert walk animation playback */
animation.CrossFade(“walk”);
charController.Move(transform.forward*Time.deltaTime*-walkSpeed/2) ;
/* Move function but in the opposite to forward
direction by using a negative (-) vector */
Debug.Log(“isWalking value is” + ” ” + isWalking);
/* Tell me what i am doing now */
}
else{
isWalking = false ;
isRunning = false ;
/* if not running or walking set these states as false */
}
if(Input.GetButtonDown(“Jump”) && !isJumping){
jumpForce = jumpForceDefault ;
isJumping = true ;
animation.Play(“jump_pose”) ;
/* Capture Jump input and prevent double air jump with
&& !isJumping, makes these lines working only while
not already in a Jump. */
}
if(isJumping){
charController.Move(transform.up * Time.deltaTime * jumpForce);
jumpForce -= gravityPull ;
Debug.Log(“isJumping value is” + ” ” + isJumping);
/* If isJumping is true (i am in Jump state), move the
character up with jumpForce intensty, then gravityPull
kicks in and will take you on the ground. */
if(charController.isGrounded){
isJumping = false ;
/* Check if the character is touching the ground with
Unity default isGrounded function, if its grounded
end the Jumping action by setting isJumping false */
}
}
if(!isWalking && !isRunning && !isJumping){
animation.CrossFade(“idle”);
/* If i am not doing any action , play the idle anim */
}
if(Input.GetAxis(“Horizontal”) > 0){
charController.transform.Rotate(Vector3.up * Time.deltaTime * 20 * rotationSpeed, Space.World);
}
if(Input.GetAxis(“Horizontal”) < 0){
charController.transform.Rotate(Vector3.up * Time.deltaTime * 20 * -rotationSpeed);
}
/* rotate the character with left and right arrows */
charController.transform.rotation.y += Input.GetAxis(“Mouse X”) * Time.deltaTime * rotationSpeed ;
/* rotate the character with the mouse */
if(Input.GetButtonDown(“Fire1”)){
isAttacking = true ;
slash() ;
isAttacking = false ;
}
/* Play attack animation calling slash function */
/* If you wish to add STRAFE command just replicate the
code for the forward and back direction , i am not
doing this in this character controller tutorial
because the Constructor model is not provided
with the strafe animation. */
}
function slash(){
animation.CrossFade(“attack”);
Debug.Log(“isAttacking is” + isAttacking);
}
[/javascript]
Thank you for following this basic Unity character controller tutorial in javascript! Please feel free to comment if you have questions, correct errors or need help !
Related posts:
 Tutorial How to move the Player with keyboard inputs in Unity3d keyboard input javascript
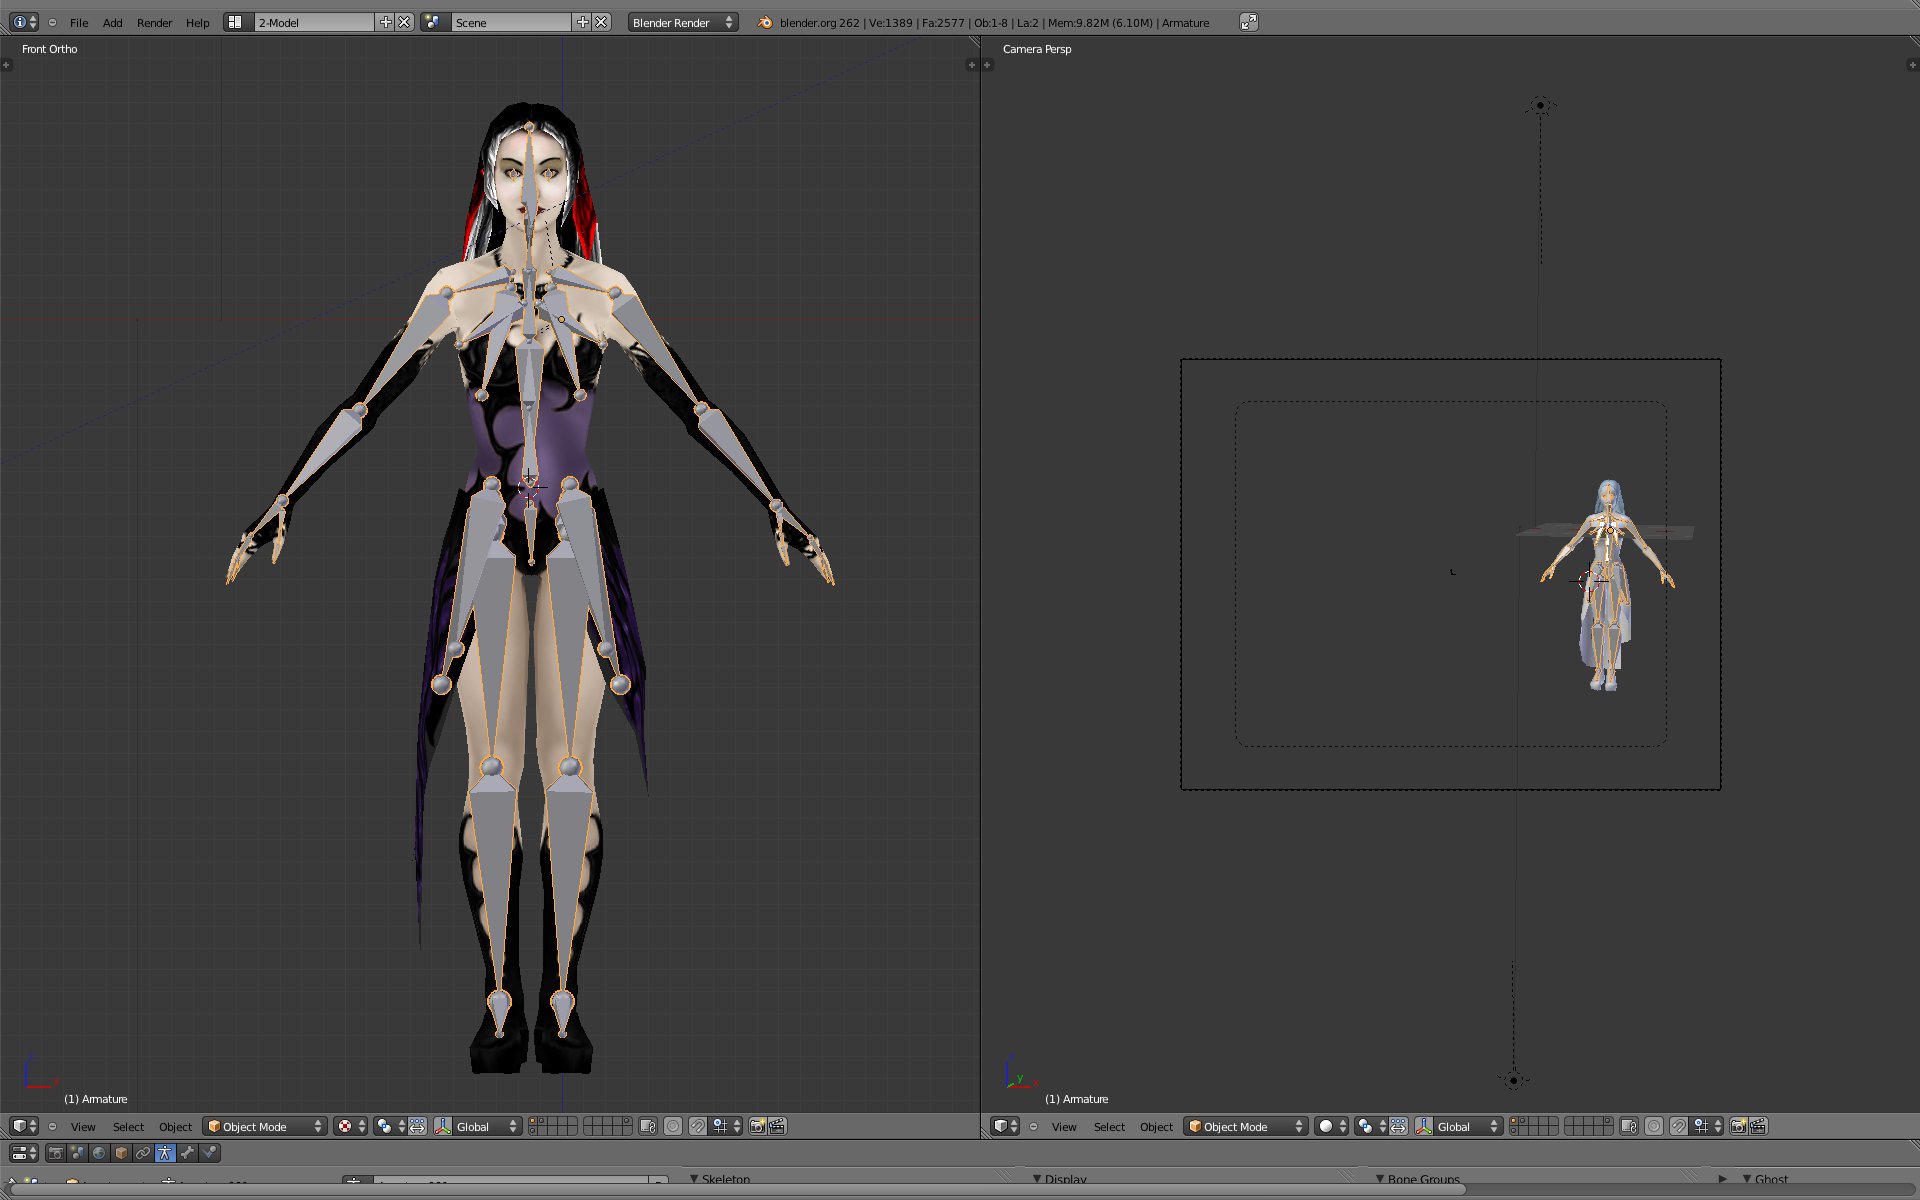 Import animated model from Blender to Unity and play the animation with scripting
 New Unity Character Animation system Feature Preview GDC 2012
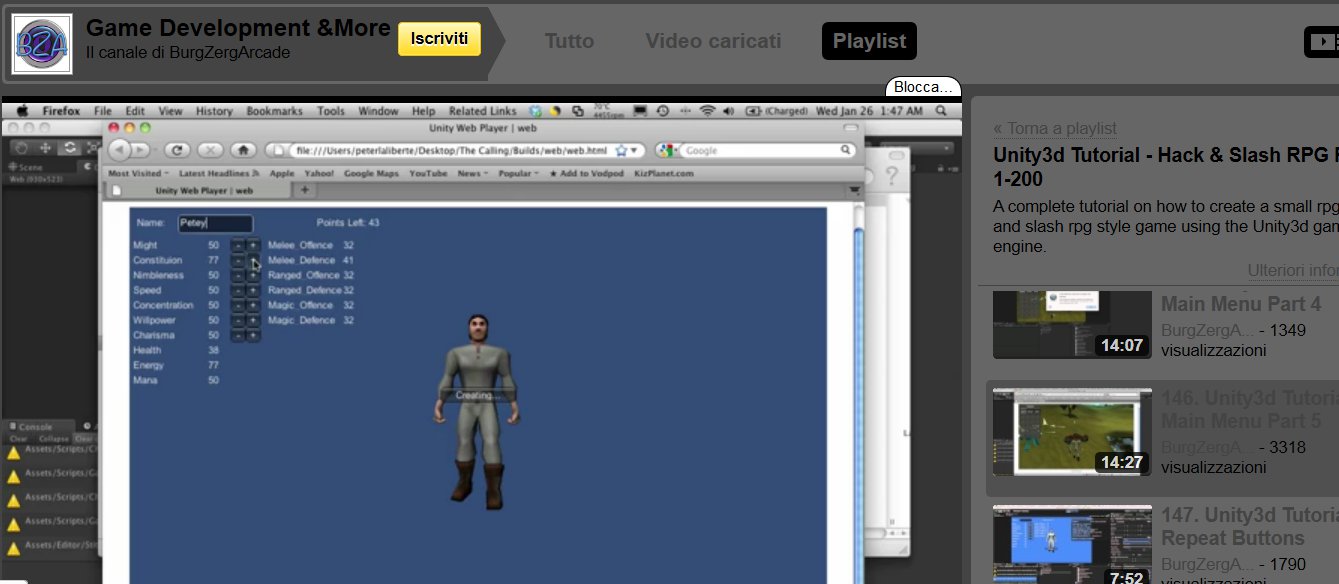 Beginner Unity video tutorial , create your rpg hack and slash with BurgZergArcade video howto
1 thought on “Unity character controller tutorial animations javascript code example”